


Ever feel like a cloud decided to turn into cake? That is exactly what we are making today. A sponge cake so light it practically floats off the plate, with just a whisper of vanilla to keep things interesting.
I have a love-hate relationship with sponge cakes. I love eating them, but I used to hate making them. They always seemed so finicky, like one wrong move and the whole thing deflates into a sad, dense pancake.
But I cracked the code, and now I am sharing all my secrets. These sponge cake recipes are foolproof, I promise. Get ready to impress everyone with your baking skills.
1. Allergens

This recipe contains gluten from the all-purpose flour, eggs, and dairy from the butter and milk. It is not suitable for celiacs or those with a dairy or egg allergy.
If you are serving someone with a severe allergy, double-check your vanilla extract brand. Some cheaper extracts use corn syrup, which can be an issue for corn allergies.
For a gluten-free version, you can try a 1:1 gluten-free baking flour blend, but the texture will be slightly denser. I have not tested this with vegan substitutes, so I cannot guarantee results on that front.
2. Ingredient notes & substitutions

The star here is the eggs. You need large, room-temperature eggs for maximum volume. Cold eggs just will not whip up the same way.
For the flour, use cake flour if you have it. It has less protein, which means a more tender crumb. All-purpose works in a pinch, just sift it twice to aerate it.
Butter adds richness, but you can swap it for a neutral oil like vegetable or canola. Oil will make the cake slightly more moist and less likely to dry out. Do not skip the vanilla, it is the “kiss” in the title.
3. Pro tips

Measure your flour correctly. Spoon it into the cup and level it off with a knife. Scooping directly from the bag packs in too much flour and makes the cake heavy.
When folding the flour into the egg foam, use a rubber spatula. Cut down through the center, scrape the bottom, and bring it up and over. Stop folding as soon as you see no more white streaks.
Do not open the oven door for the first 20 minutes of baking. The rush of cool air will cause your beautiful sponge to collapse. Patience is a virtue here.
4. Storage & make-ahead (fridge/freezer)
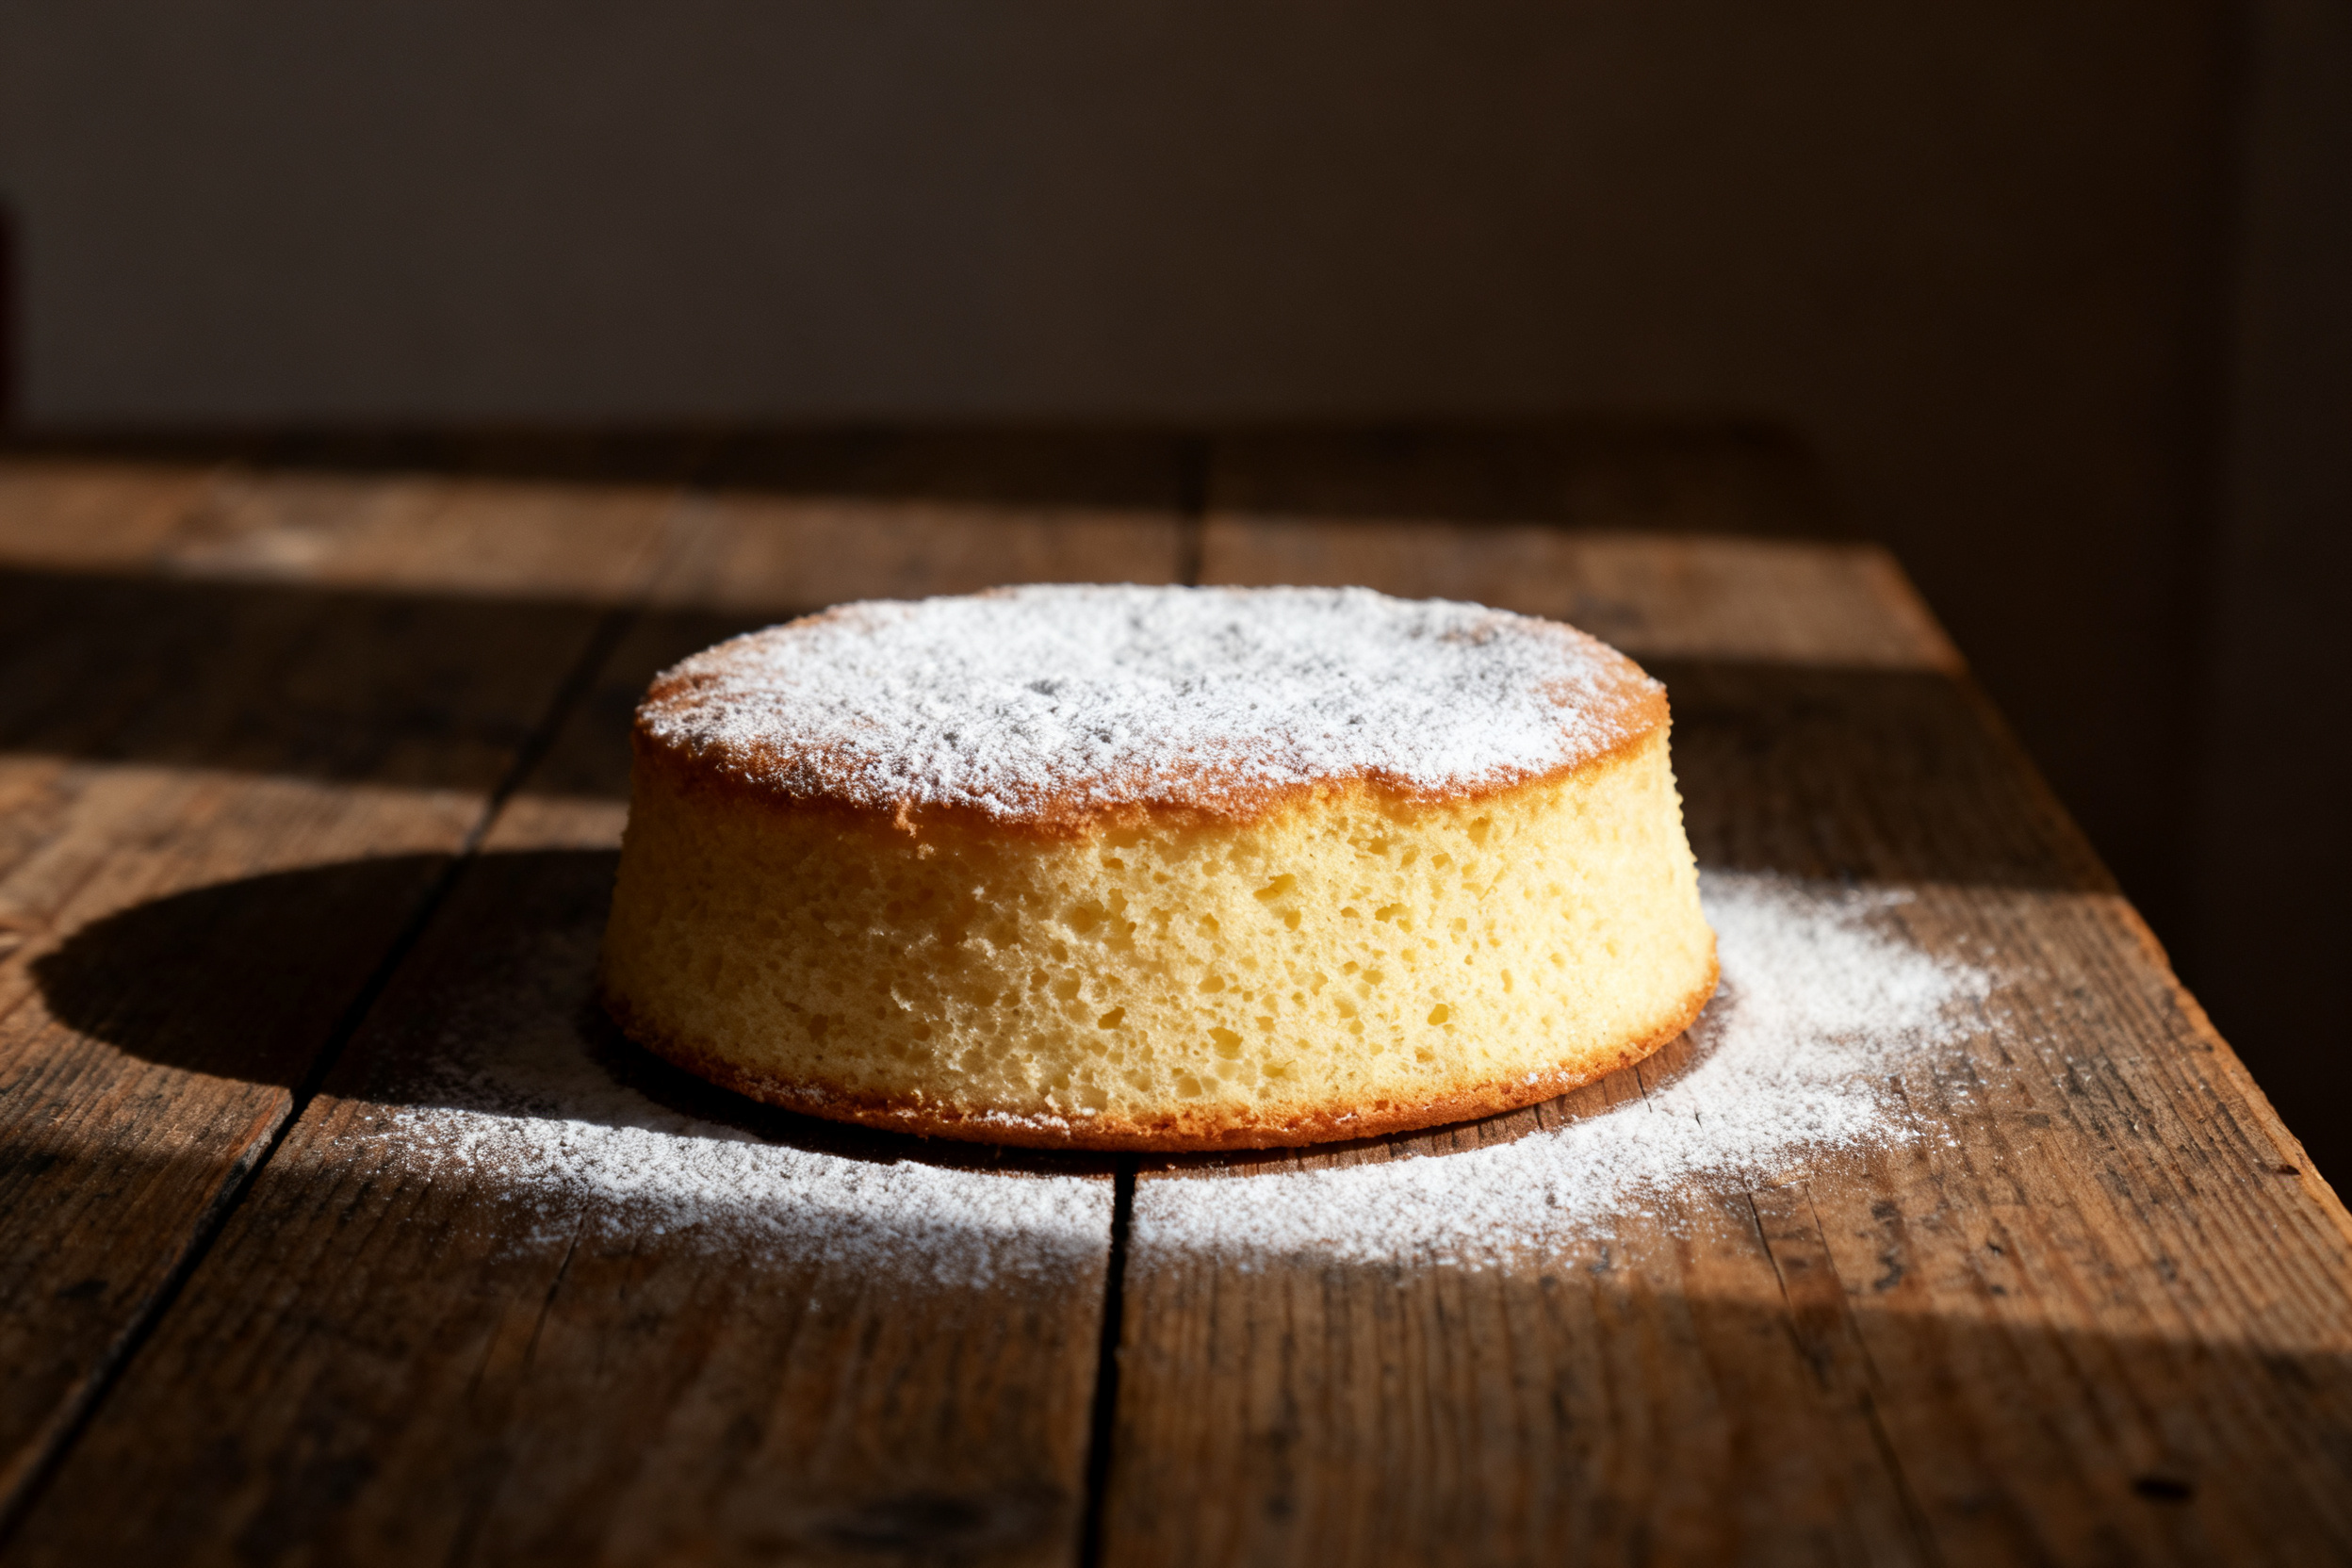
Store an unfrosted sponge cake wrapped in plastic wrap at room temperature for up to two days. Do not refrigerate it, the fridge dries it out fast.
You can freeze the cake layers for up to three months. Wrap each layer tightly in plastic wrap, then foil. Thaw them in the fridge overnight before frosting.
Frosted cake keeps in the fridge for about three days. Let it sit at room temperature for 15 minutes before slicing for the best texture.
5. Serving suggestions (complete the meal)

This sponge cake is a blank canvas. Serve it plain with a dusting of powdered sugar and a pile of fresh berries.
For a real treat, split the cake in half and fill it with whipped cream and sliced strawberries. That is a classic strawberry shortcake situation right there.
A drizzle of warm chocolate sauce or a dollop of lemon curd also works wonders. Honestly, a cup of strong coffee is all the accompaniment you need.
6. Use your leftovers (reduce waste)

Stale sponge cake is the perfect base for a trifle. Just cube it up, layer it with pudding, fruit, and custard in a glass bowl.
You can also toast leftover slices in a buttered pan until golden. Serve them with a scoop of ice cream for a quick, lazy dessert.
Crumb the dried cake up in a food processor and use it as a topping for yogurt or ice cream. Zero waste, maximum deliciousness.
7. Common mistakes & how to fix them

If your cake sinks in the middle, you likely underbaked it or opened the oven door too early. Next time, bake until a toothpick comes out clean.
A dense, rubbery cake means you overmixed the batter. You deflated all that precious air you whipped into the eggs. Fold gently and stop early.
If the top cracks too much, your oven temperature was too high. Invest in an oven thermometer, they are cheap and save a lot of heartache.
8. Variations by diet or flavor profile
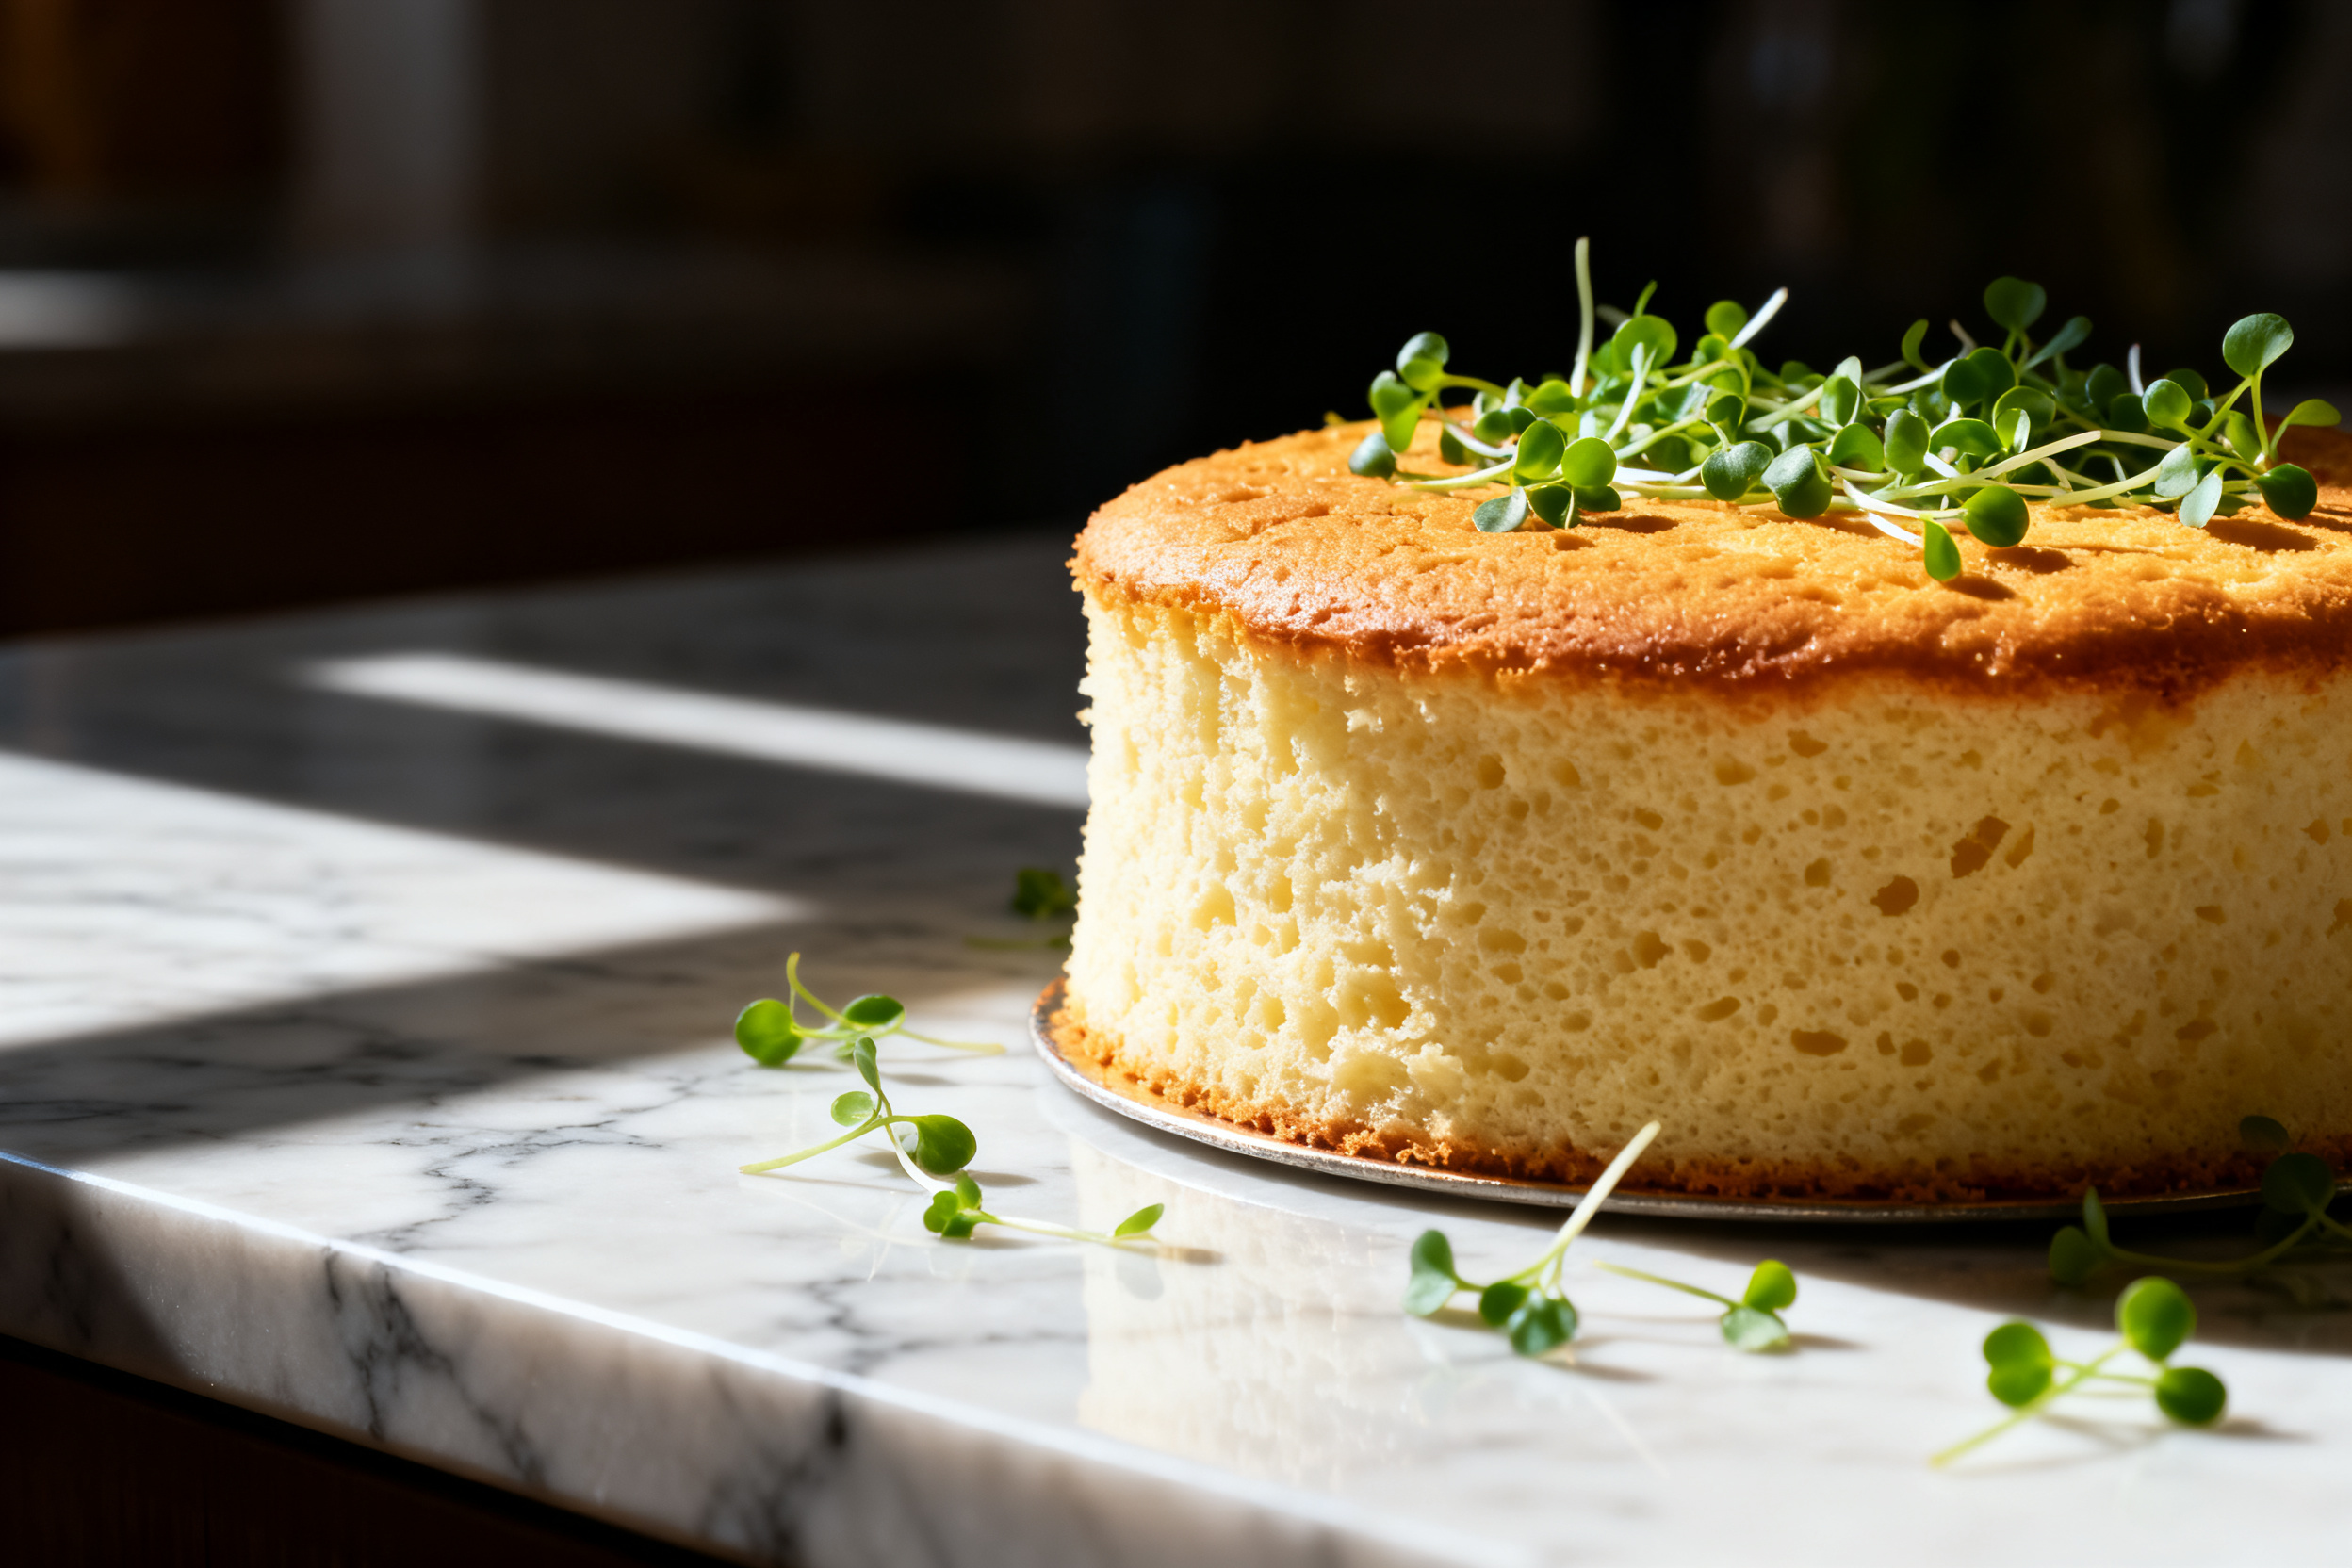
For a lemon twist, add the zest of one lemon to the sugar and rub it in with your fingers before mixing. Swap the vanilla for lemon extract.
To make a chocolate sponge, replace 2 tablespoons of flour with unsweetened cocoa powder. Sift it together with the flour to avoid clumps.
A gluten-free version works with a good quality 1:1 blend. Add a teaspoon of xanthan gum if your blend does not already contain it for better structure.
9. Why this recipe works / The science

The magic is all in the eggs. Whipping the egg whites creates a stable foam full of tiny air bubbles. These bubbles expand in the oven and give the cake its lift.
Folding in the flour gently keeps those bubbles intact. The butter adds fat, which coats the gluten strands and keeps the cake tender instead of tough.
Sugar is not just for sweetness here. It stabilizes the egg foam and helps it hold its shape. That is why we add it gradually while whipping.
10. Frequently Asked Questions (FAQ)
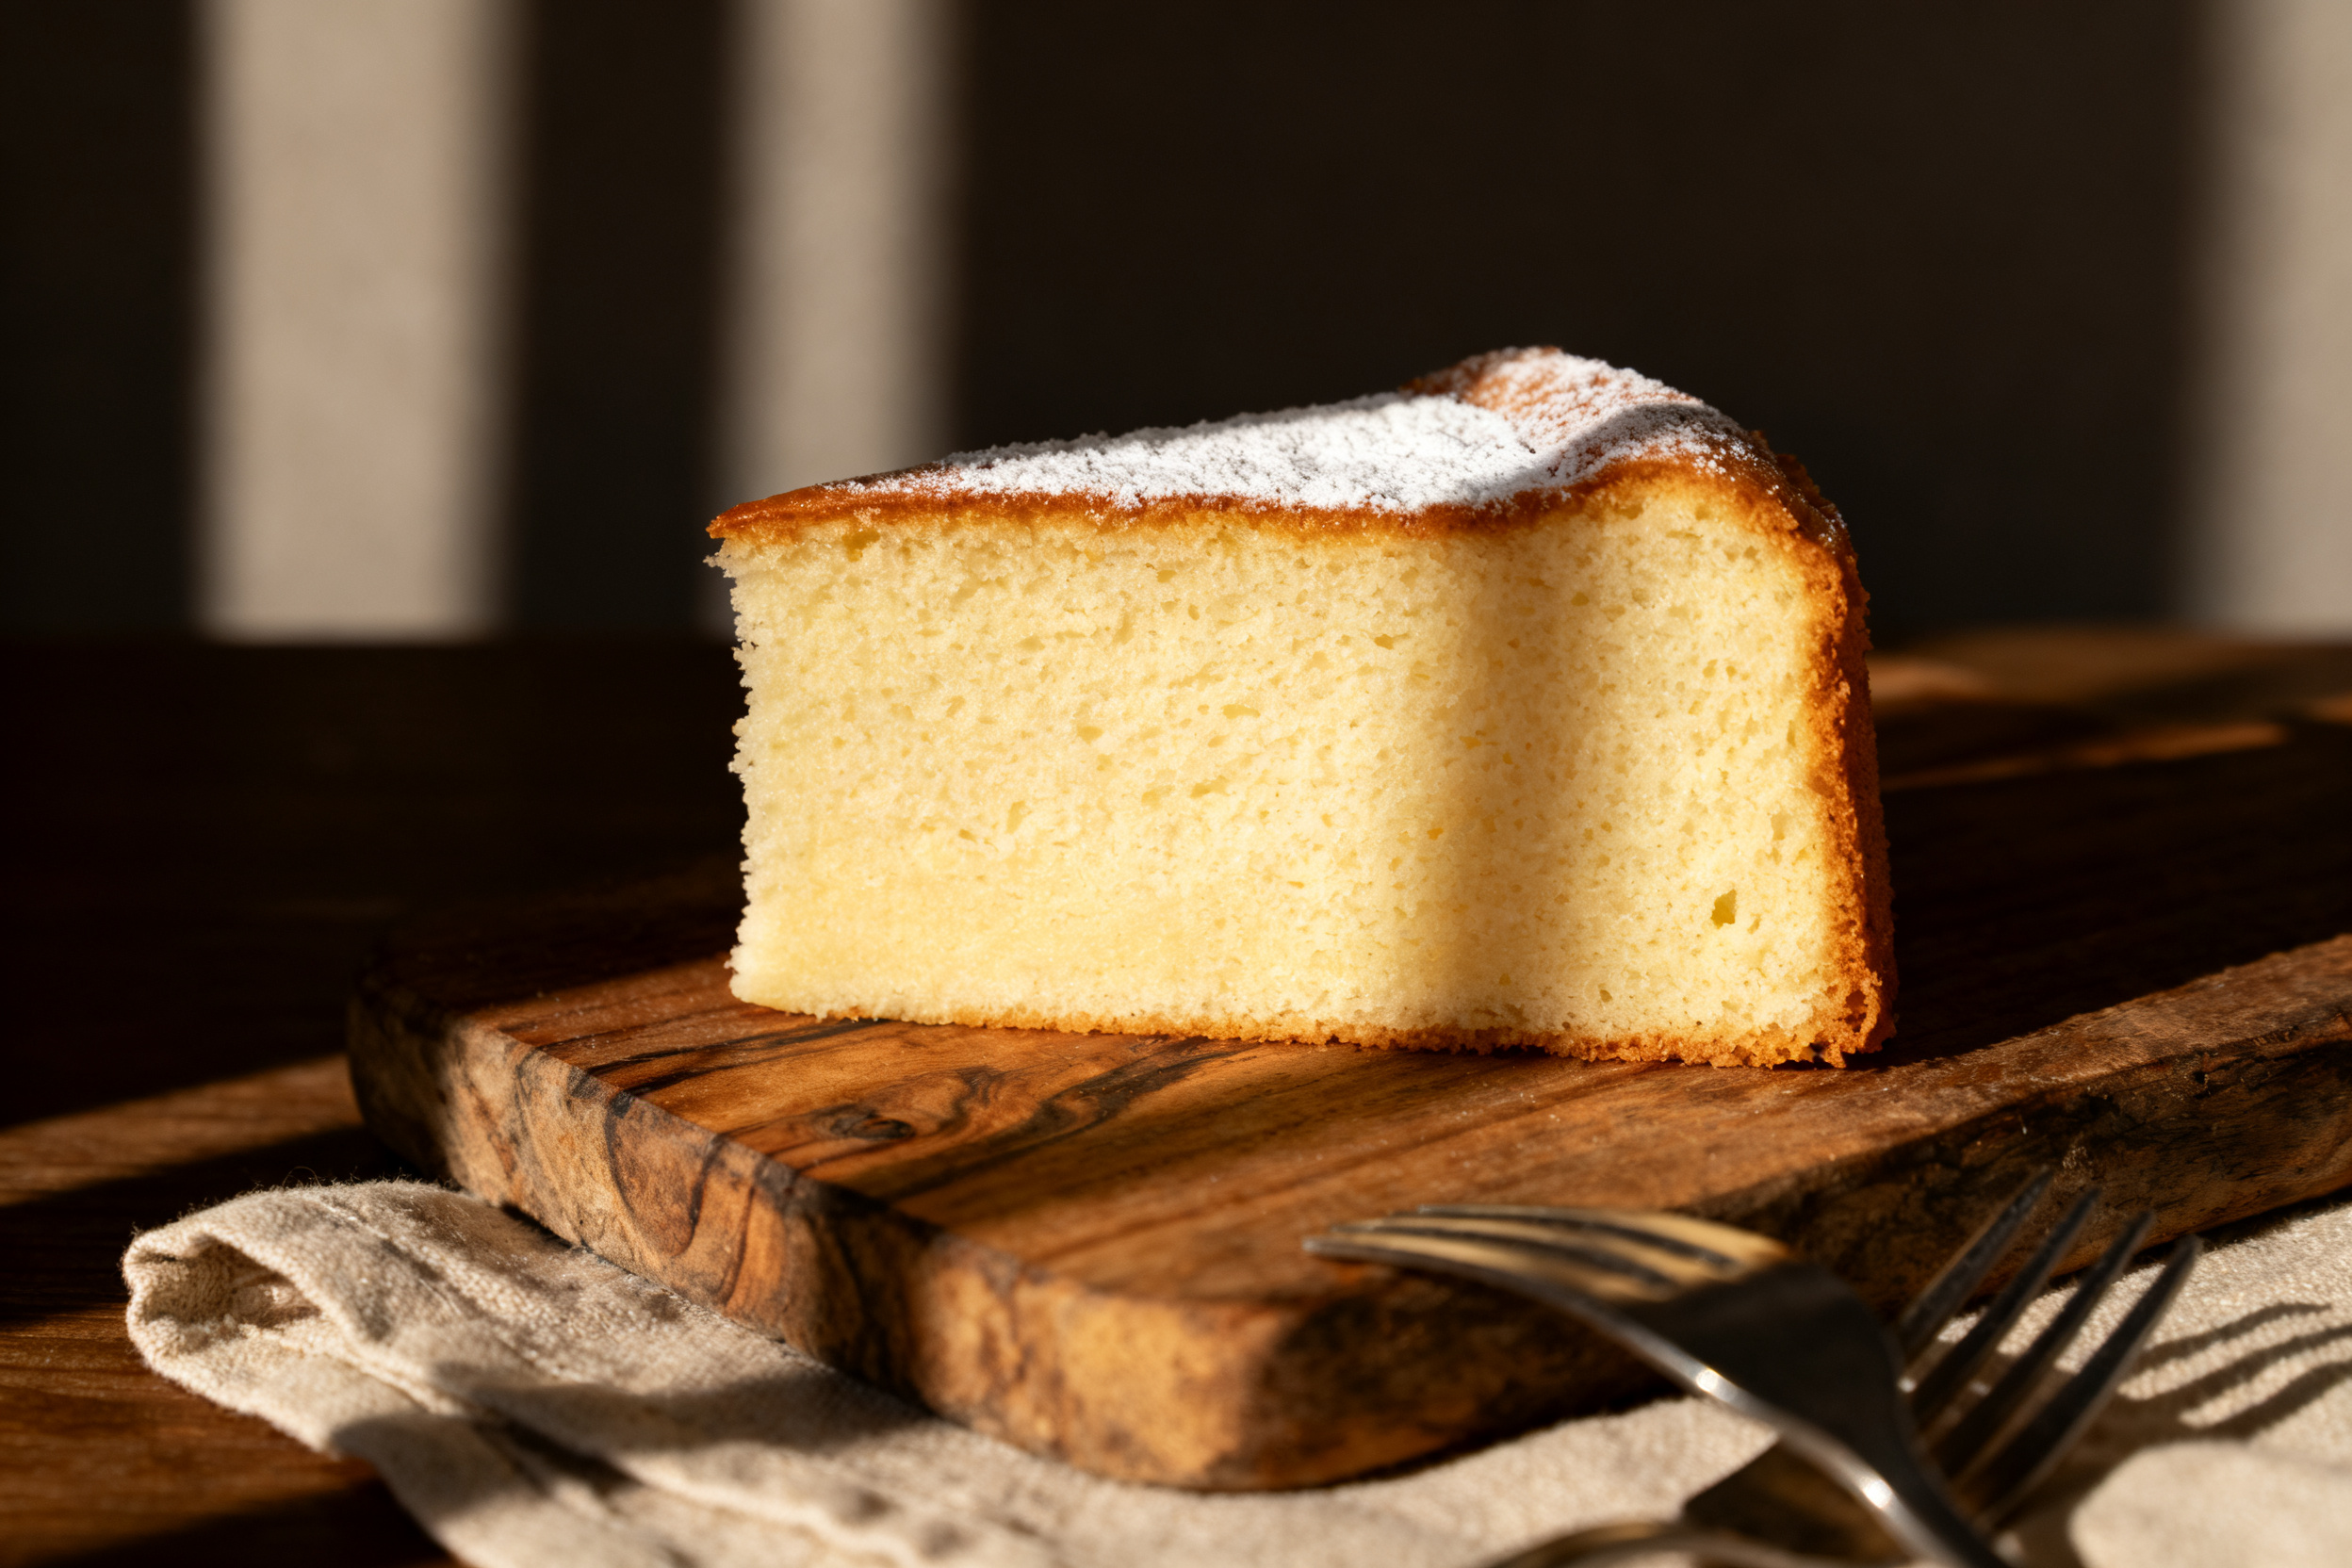
Can I use a hand mixer instead of a stand mixer? Yes, absolutely. It just takes a bit longer, about 8-10 minutes of whipping for the eggs.
Why did my cake stick to the pan? You likely did not grease and flour the pan properly. Use butter or non-stick spray, then dust with flour and tap out the excess.
Can I double this recipe? Yes, you can double it easily. Use a larger bowl and expect a slightly longer bake time, so check for doneness with a toothpick.
11. Call to action (comment, share, subscribe)

I really want to see your sponge cake creations! Drop a comment below and tell me how yours turned out.
If you found this helpful, share the post with a friend who loves baking. It helps a small blog like mine more than you know.
Do not forget to subscribe to the newsletter for more foolproof recipes delivered straight to your inbox. Happy baking, friend.
Conclusion

This light-as-air sponge cake with a vanilla kiss is the kind of recipe that makes you feel like a pro. It is simple, elegant, and incredibly rewarding to pull off.
I hope you give it a try and find the same joy I do in that first perfect slice. Remember, baking is supposed to be fun, so do not stress over the tiny stuff.
Now go preheat that oven and make some magic. I cannot wait to hear about it in the comments.
Light-as-Air Vanilla Sponge Cake Recipe
Ingredients
- 4 large eggs room temperature
- 3/4 cup 150g granulated sugar
- 1 teaspoon vanilla extract
- 1 cup 120g cake flour, sifted
- 1/4 cup 60ml whole milk, room temperature
- 1/4 cup 60g unsalted butter, melted and cooled
- 1/4 teaspoon salt
Instructions
- Preheat your oven to 350°F (175°C). Grease and flour a 9-inch round cake pan and line the bottom with parchment paper.
- In a large mixing bowl, combine the eggs and sugar. Beat with an electric mixer on high speed for 6-8 minutes, until thick, pale, and tripled in volume. The mixture should fall in a thick ribbon when you lift the beaters.
- Beat in the vanilla extract on low speed for 10 seconds.
- Sift the cake flour and salt over the egg mixture in three additions. Use a rubber spatula to gently fold the flour in after each addition. Fold only until no streaks remain, do not overmix.
- In a small bowl, whisk together the milk and melted butter. Drizzle this mixture down the side of the bowl and fold it in gently, just until incorporated.
- Pour the batter into the prepared pan and gently smooth the top. Bake for 22-25 minutes, until the top is golden and springs back when lightly touched.
- Let the cake cool in the pan on a wire rack for 10 minutes. Run a knife around the edges, then invert the cake onto the rack to cool completely.
Notes
2. Cake flour substitute: For each cup of cake flour, use 1 cup all-purpose flour minus 2 tablespoons, plus 2 tablespoons cornstarch.
3. Sift together well.
4. Storage: Keep unfrosted cake wrapped in plastic at room temperature for up to 2 days. Freeze layers for up to 3 months.
5. Flavor variations: Add lemon zest, swap vanilla for almond extract, or fold in 1/4 cup cocoa powder with the flour for a chocolate version.