


You know that moment when you crave a slice of fluffy, bakery-style cake but your oven is either broken, missing, or just too hot to turn on? Yeah, me too. I once tried to “bake” a cake in a microwave and ended up with a rubbery disc that could double as a hockey puck. Not my finest hour.
But here’s the thing – you don’t need an oven to make a cake that tastes like it came straight from a fancy patisserie. This no-oven cake recipe uses a simple stovetop method (hello, pressure cooker or heavy pot) and delivers a tender, golden sponge that rivals any baked version. Seriously, no one will believe you didn’t use an oven.
Let’s get into the nitty-gritty so you can pull off this magic trick in your own kitchen. I’ll even share the mistakes I made so you don’t have to repeat them.
1. Allergens

This cake contains gluten (from all-purpose flour), dairy (butter and milk), and eggs. If you’re serving someone with allergies, swap the flour for a 1:1 gluten-free blend, use plant-based milk and vegan butter, and try a flax egg (1 tbsp flaxseed meal + 3 tbsp water per egg).
Also note that some baking powders contain cornstarch, which is fine for most, but check labels if you have a corn allergy. The vanilla extract is usually gluten-free, but always verify.
2. Ingredient notes & substitutions

Butter gives the best flavor, but you can use neutral oil (like vegetable or canola) for a slightly denser, moister crumb. If using oil, reduce it to ½ cup instead of ½ cup butter.
Milk – whole milk works perfectly. For a dairy-free version, oat milk or almond milk are great. Avoid coconut milk unless you want a coconutty twist.
Eggs – large eggs at room temperature are key. Cold eggs can make the batter curdle. If you’re vegan, use two flax eggs (2 tbsp flaxseed meal + 6 tbsp water) – the texture will be a bit more dense but still delicious.
Baking powder – make sure it’s fresh. Old baking powder = flat cake. You can test it by dropping a pinch into hot water – if it fizzes, it’s good.
Vanilla extract – pure vanilla is best, but imitation works in a pinch. For a flavor twist, add a teaspoon of lemon zest or almond extract.
3. Pro tips
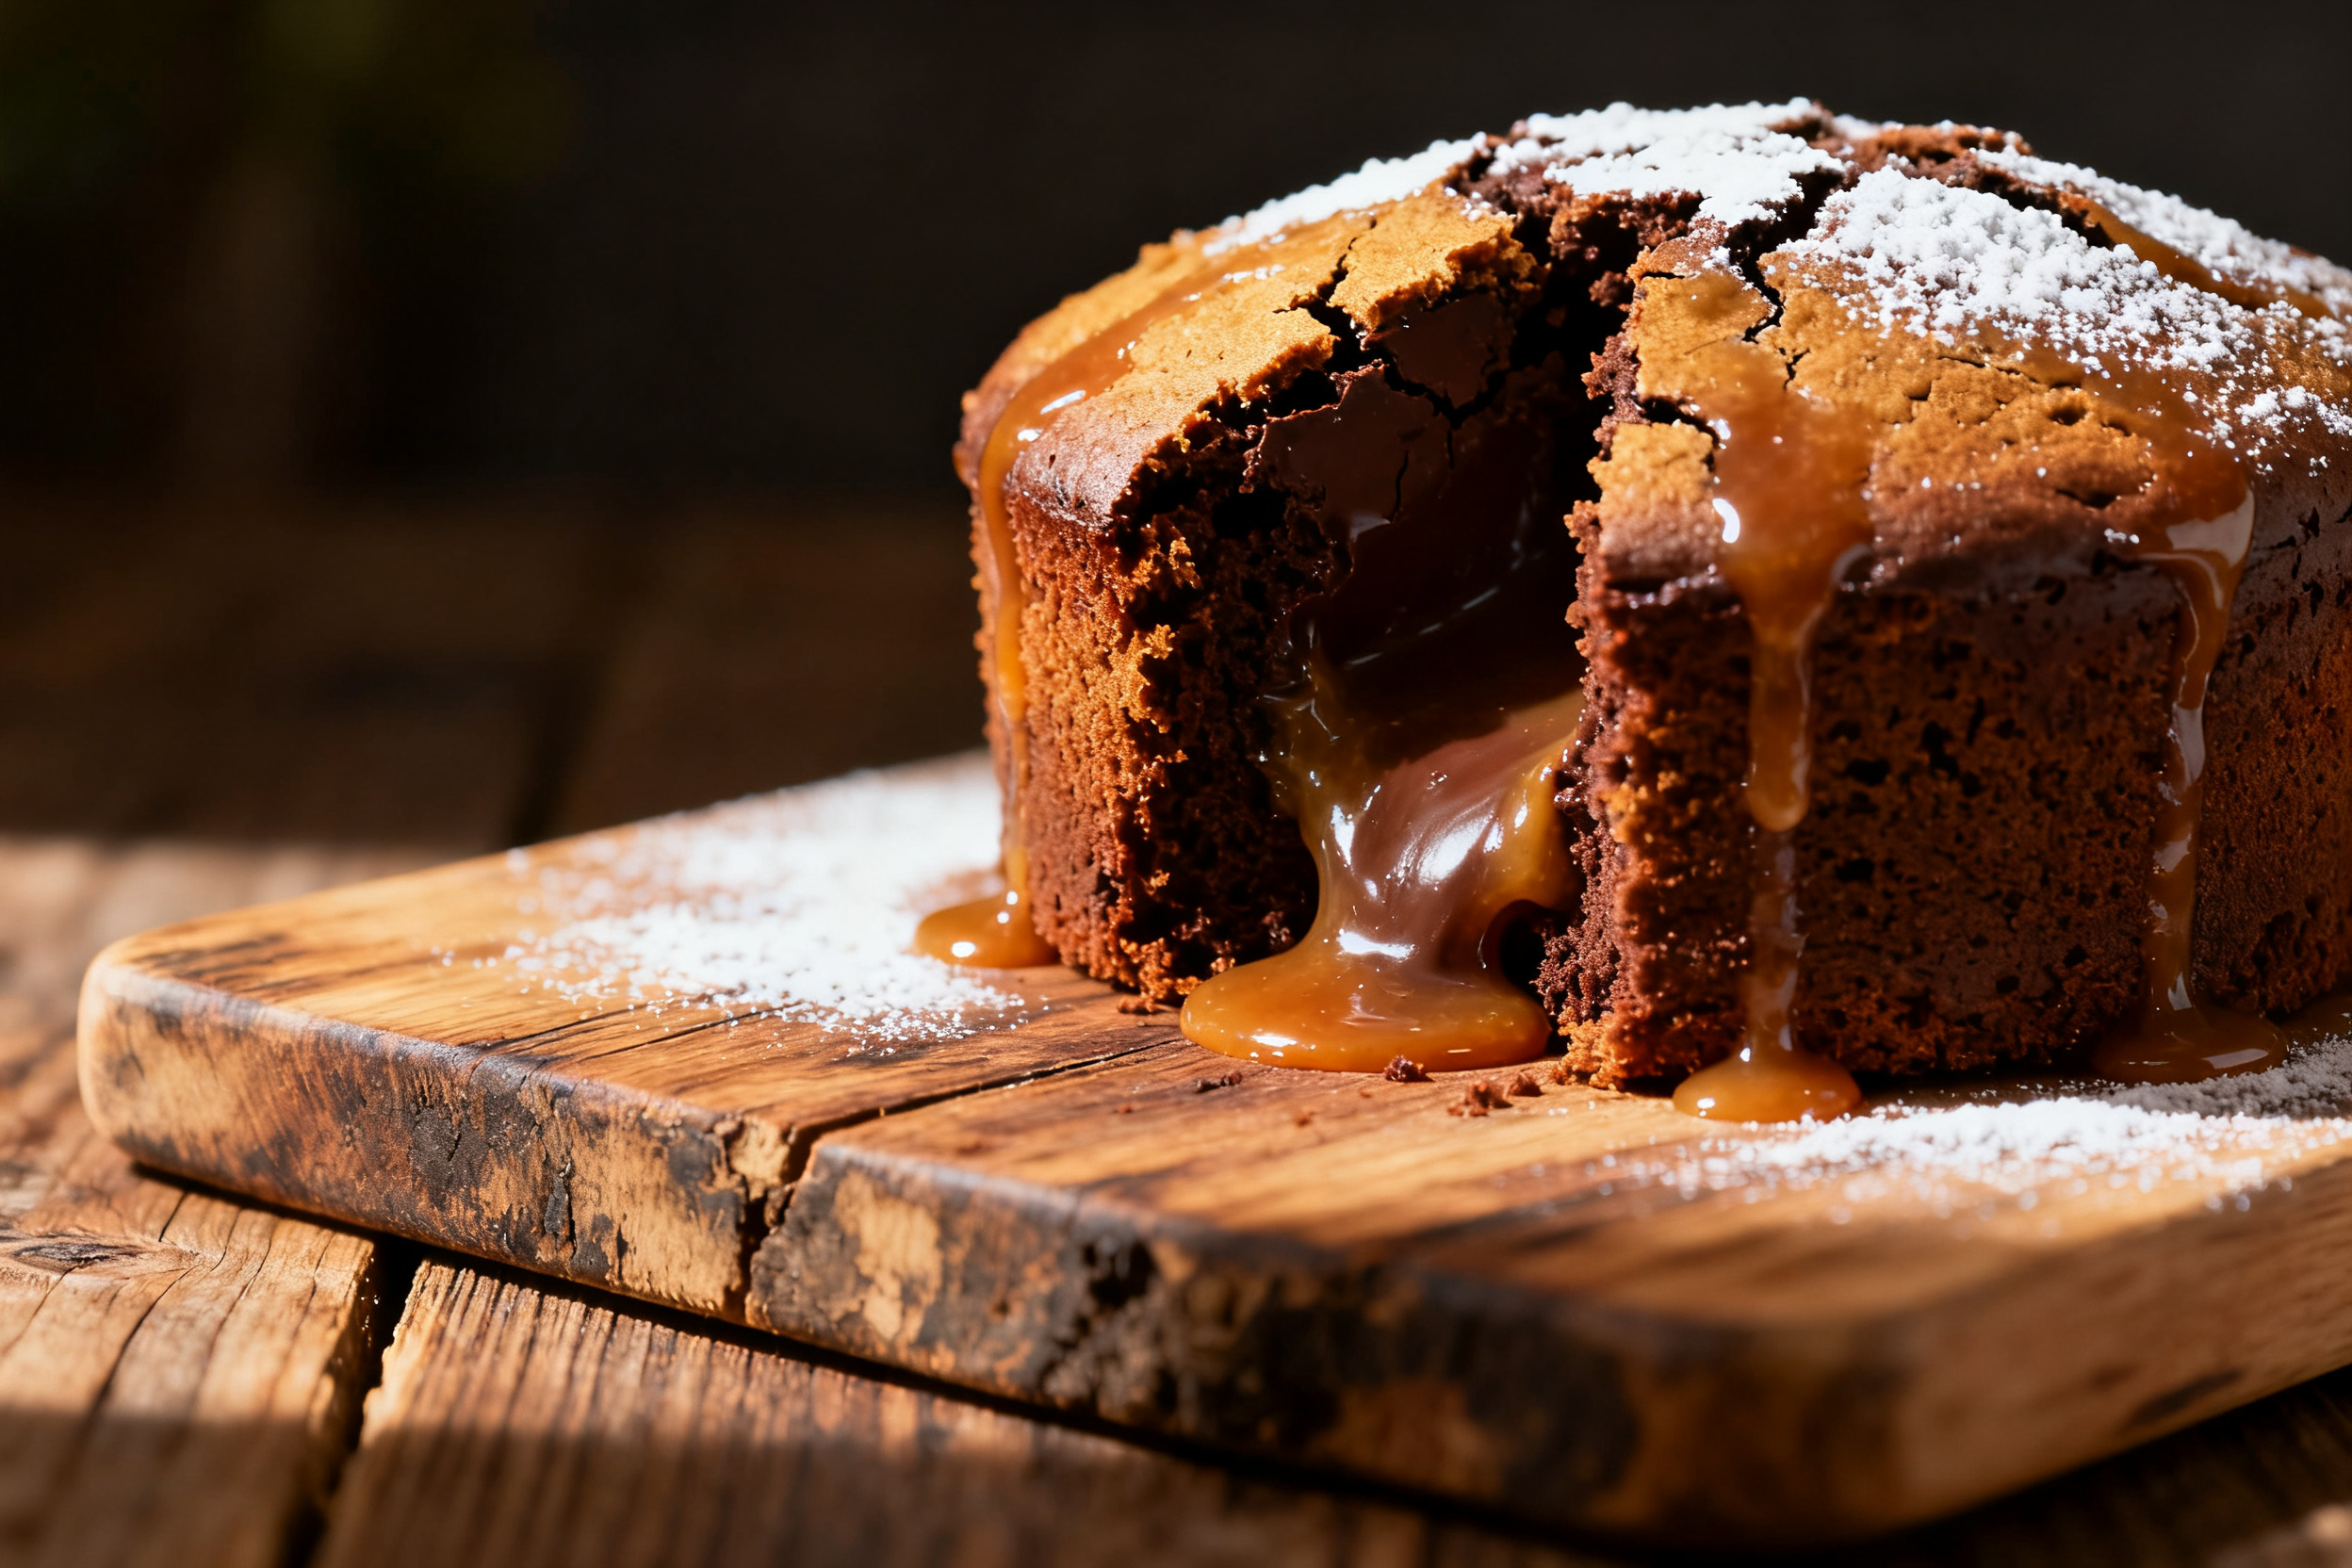
Grease your pan generously – I use butter and a dusting of flour, then line the bottom with parchment paper. No one wants a cake that sticks.
Preheat your cooking vessel – whether it’s a pressure cooker (without the weight) or a deep heavy pot, let it heat up on low for 10 minutes before placing the cake pan inside. This mimics an oven’s gentle heat.
Use a wire rack or a small trivet at the bottom of the pot to keep the cake pan off the direct heat. Otherwise you’ll get a burnt bottom and a raw top.
Don’t open the lid too early – the steam does the baking. Peeking lets out heat and can cause the cake to sink. Wait until the timer goes off, then do the toothpick test.
Let the cake cool completely in the pan for 10 minutes, then turn it out onto a rack. If you rush, it might break apart.
For an extra moist cake, brush the top with a simple sugar syrup (equal parts sugar and water, boiled) while it’s still warm. That’s the bakery secret.
4. Storage & make-ahead
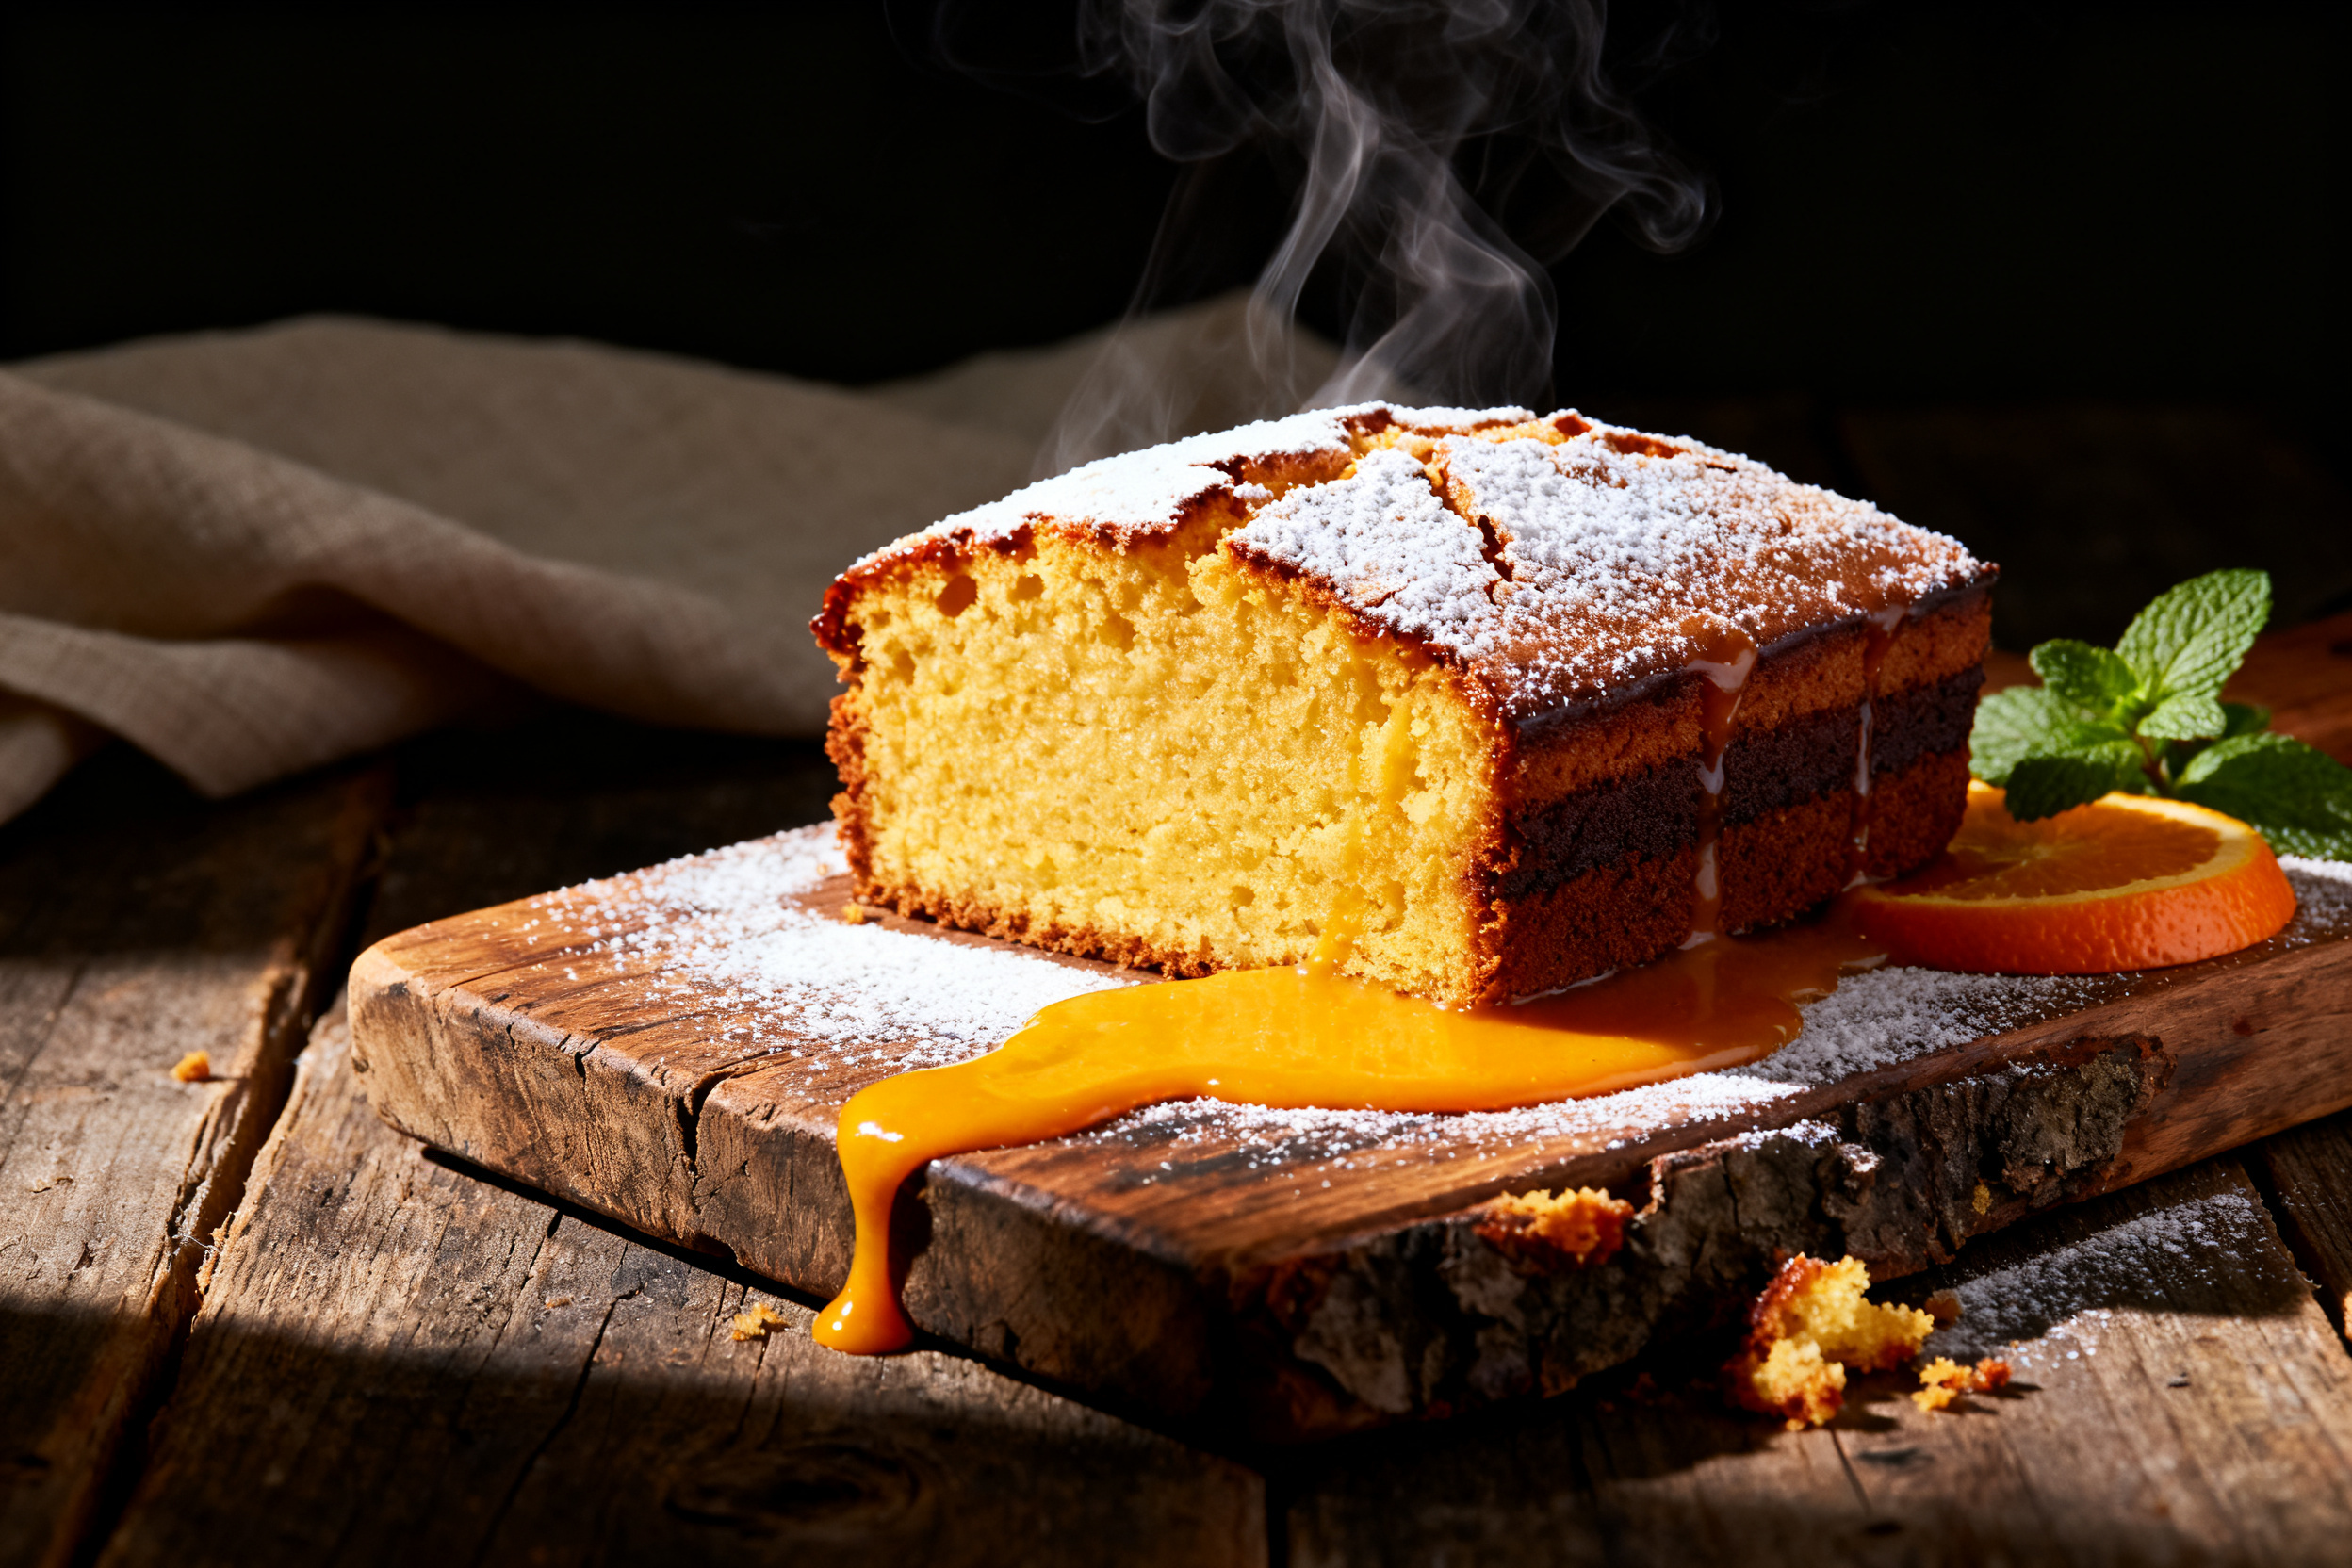
Store leftovers in an airtight container at room temperature for up to 3 days. If your kitchen is hot, pop it in the fridge – just bring it to room temp before serving.
You can freeze the cake (whole or sliced) for up to 2 months. Wrap tightly in plastic wrap, then foil. Thaw overnight in the fridge.
To make ahead, bake the cake a day before, cool completely, and store wrapped. Frost or serve the next day – the flavor actually deepens overnight.
5. Serving suggestions
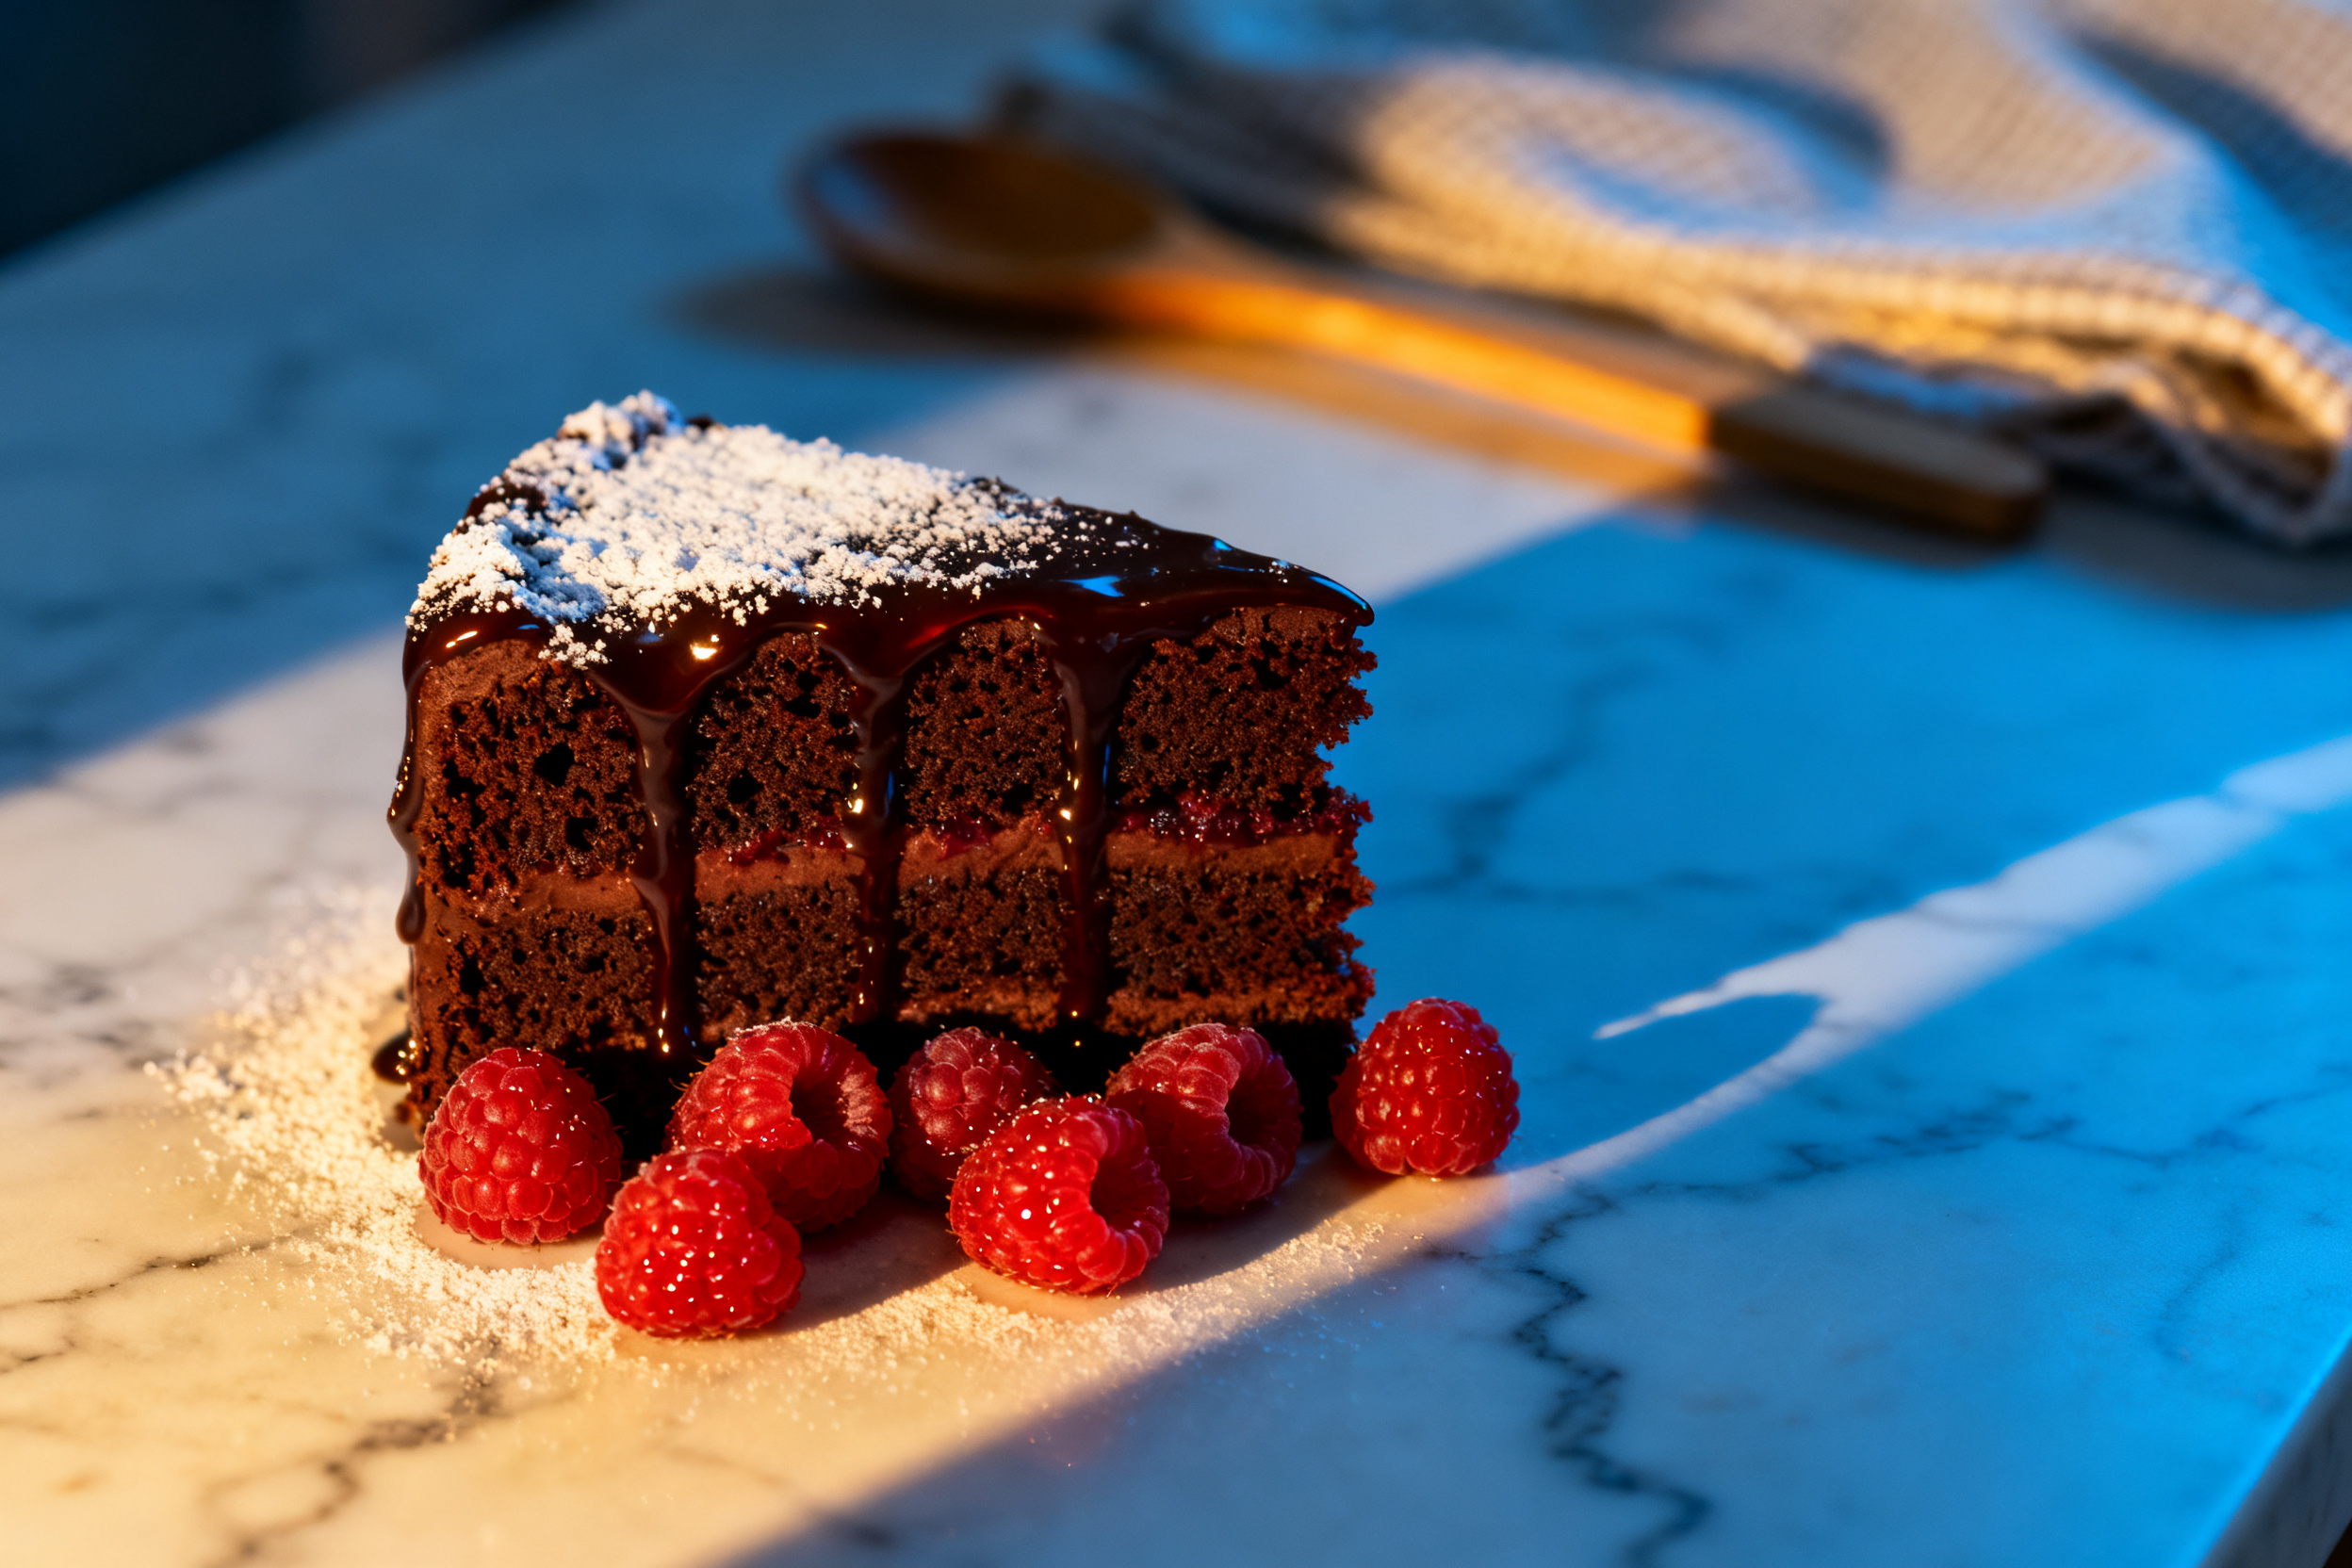
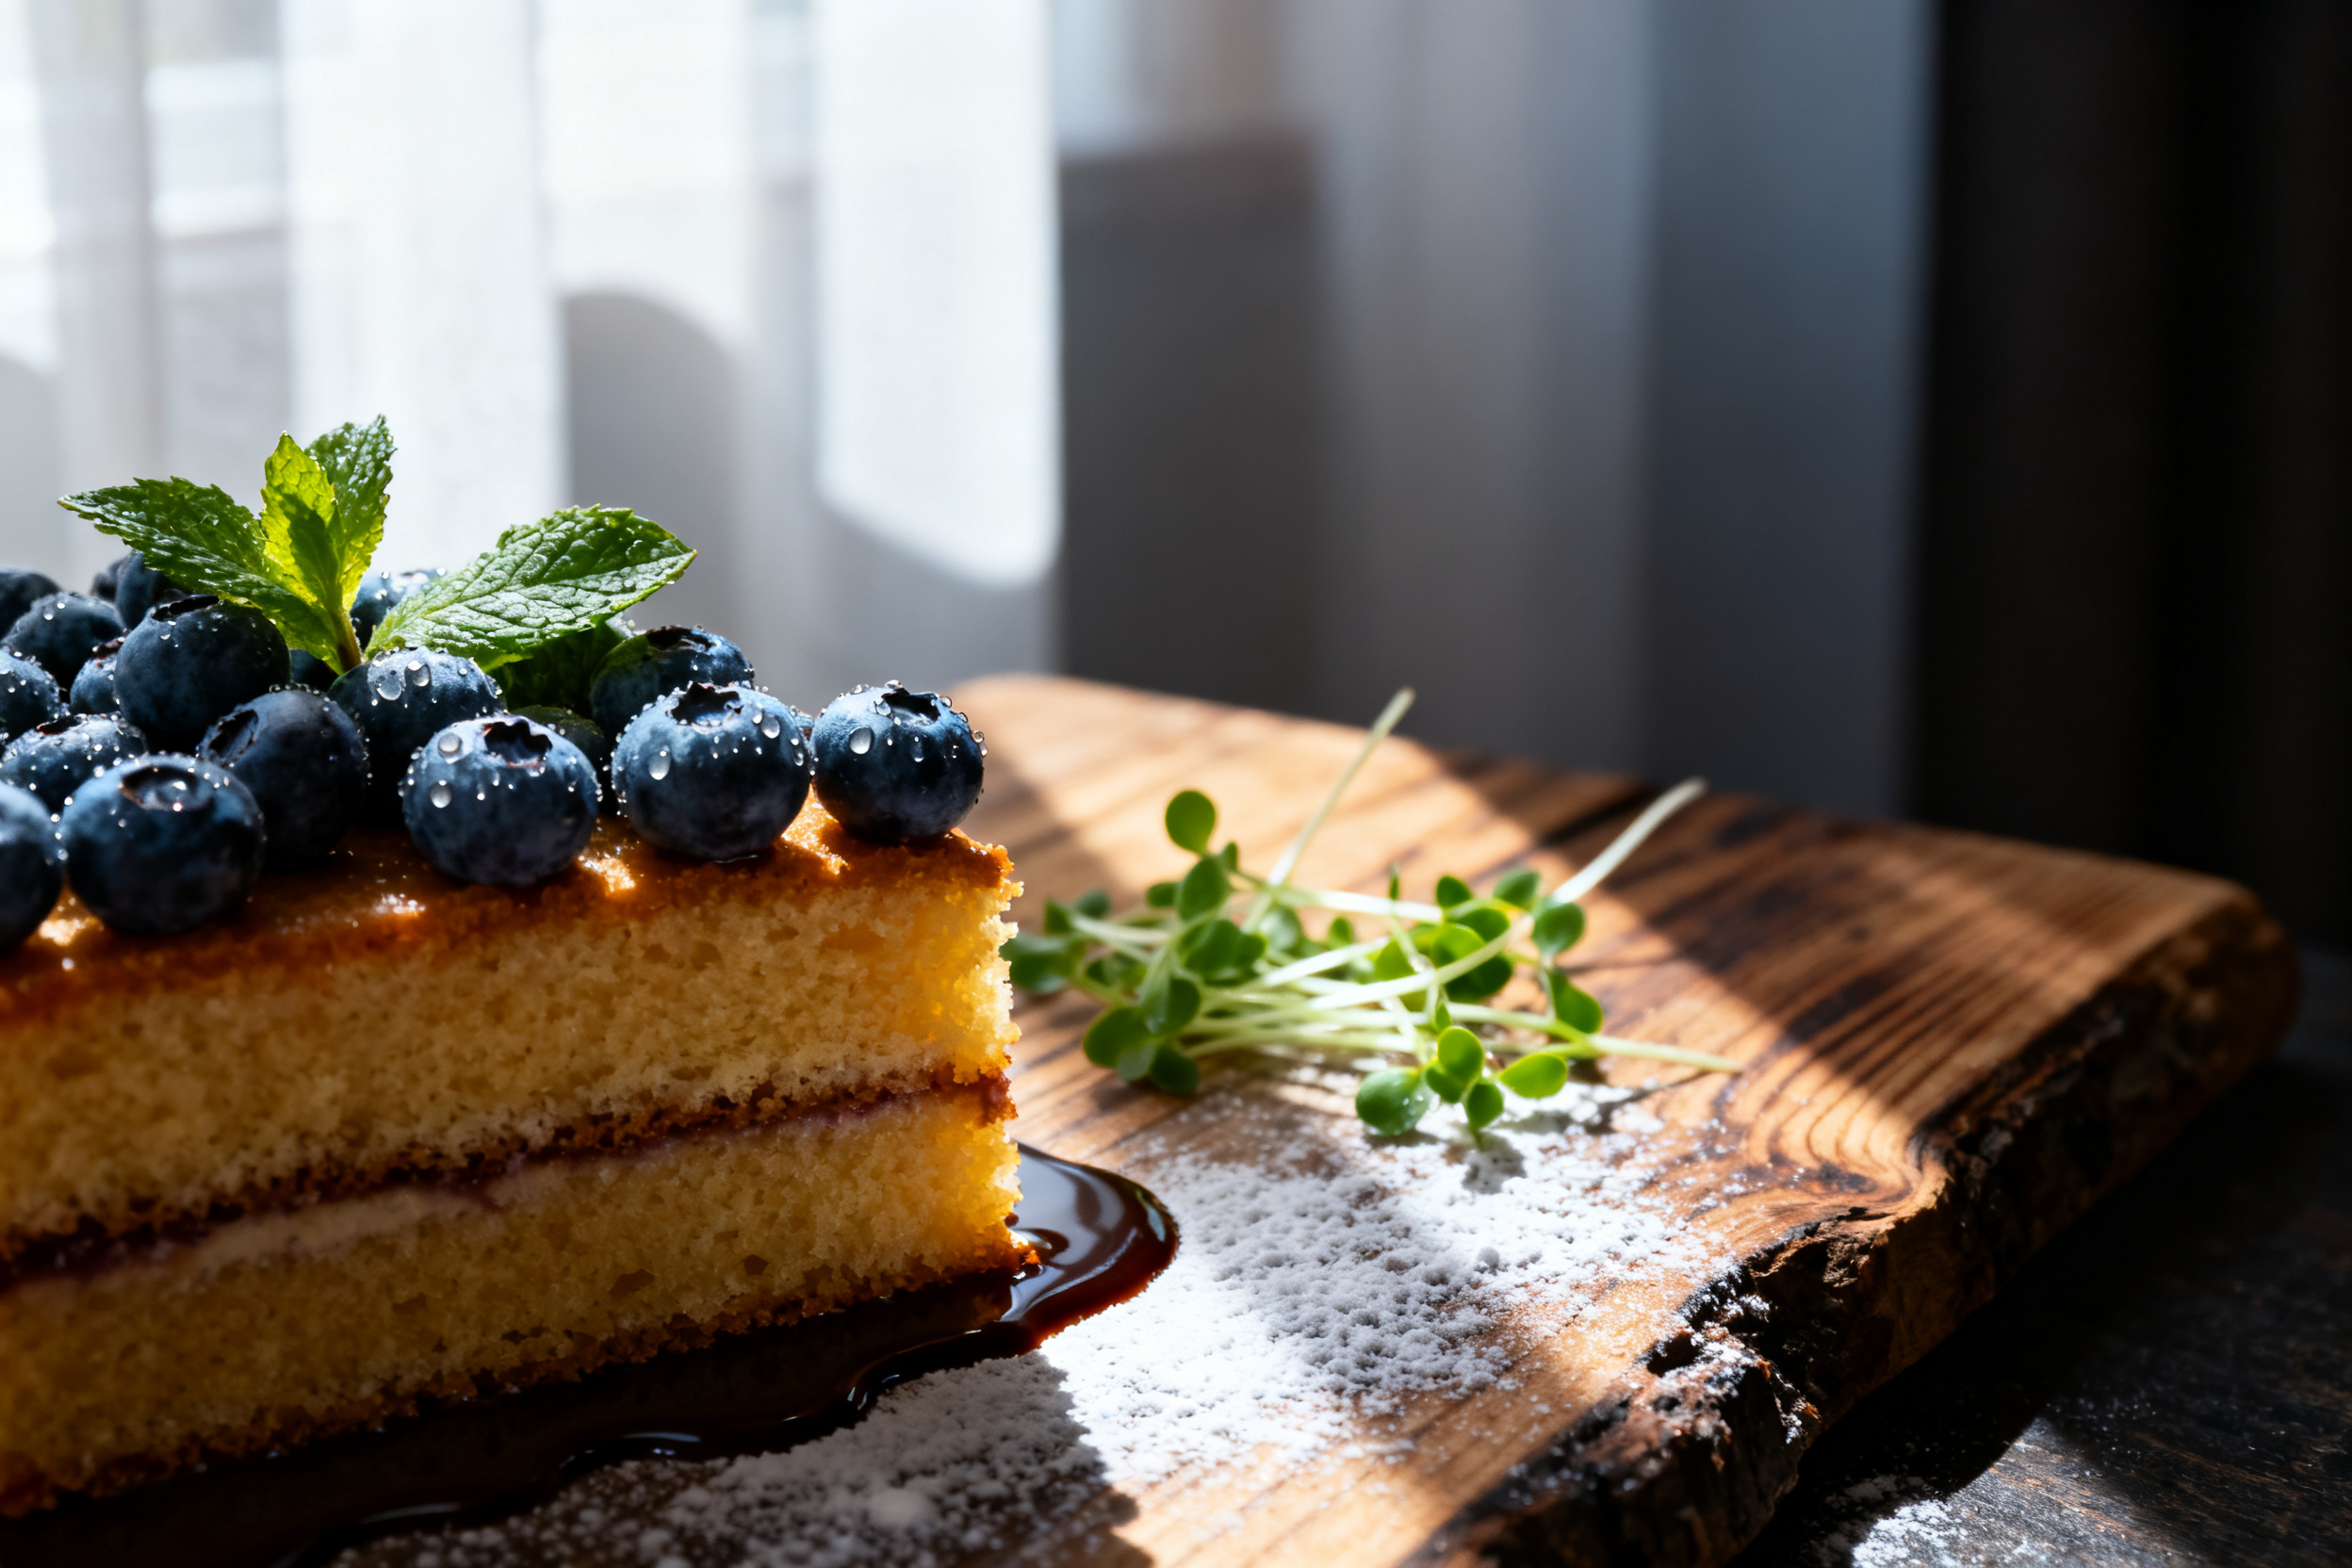
This cake is a blank canvas. Dust it with powdered sugar for a simple finish, or top with whipped cream and fresh berries. For a decadent treat, slice it in half and fill with jam and buttercream – instant layer cake. It also pairs beautifully with a scoop of vanilla ice cream or a drizzle of chocolate ganache.
6. Use your leftovers

Stale cake? Don’t toss it. Crumble it up and toast the crumbs in a dry pan – you’ve got instant cake crumble for yogurt, ice cream, or trifle.
Cut leftover slices into cubes and layer them with custard and fruit for a quick trifle. Soaking the cubes in a little coffee or liqueur makes it extra fancy.
You can also make cake pops – mash the cake with a bit of frosting, roll into balls, dip in chocolate. Perfect for parties.
If you have only a few crumbs, sprinkle them over oatmeal or pancake batter for a sweet surprise.
7. Common mistakes & how to fix them
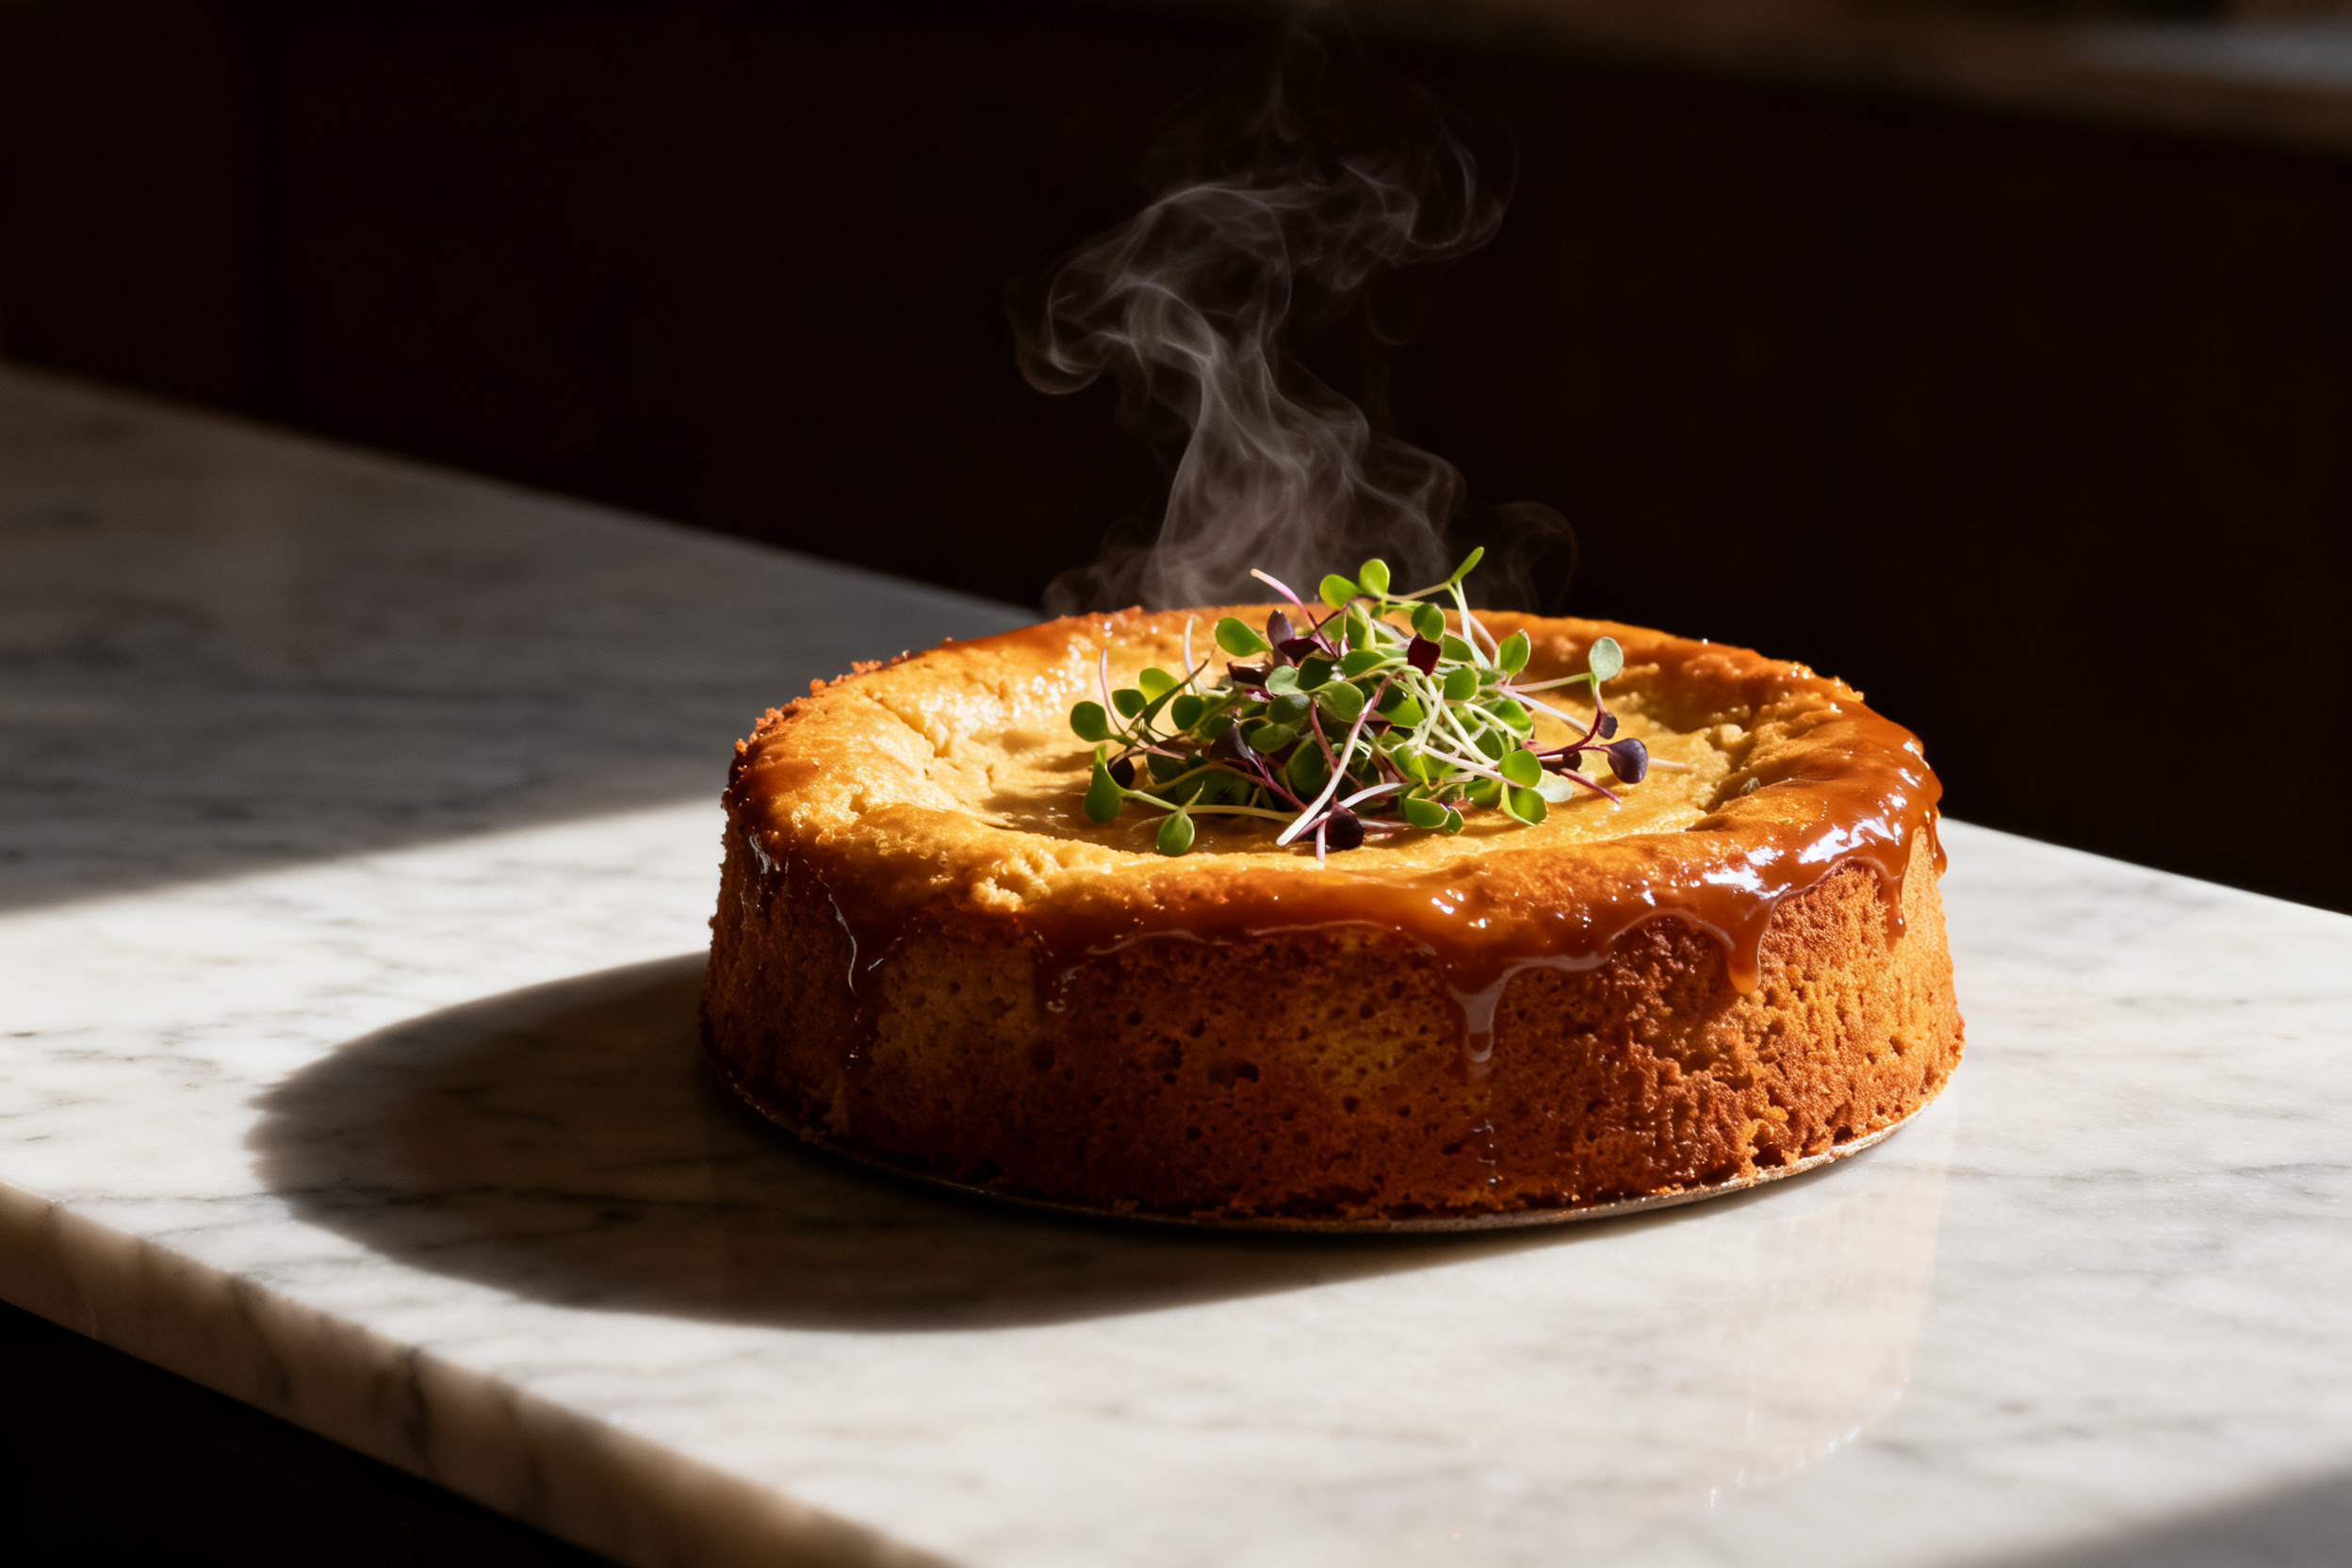
Sunken center – usually from opening the lid too early or underbaking. Next time, resist the peek and check at the end. If it still sinks, you might have overmixed the batter (develops too much gluten).
Burnt bottom – your heat was too high or the pan was too close to the bottom. Always use a trivet and keep the flame on the lowest setting. If it’s already burnt, carefully slice off the dark layer and nobody will know.
8. Variations by diet or flavor profile

Chocolate version – replace ¼ cup of the flour with unsweetened cocoa powder. Add 2 tbsp extra milk to keep the batter moist. You can also fold in chocolate chips.
Lemon blueberry – add zest of one lemon and 1 cup fresh or frozen blueberries (tossed in a little flour to prevent sinking). Swap vanilla for lemon extract.
Vegan & oil-based – use the flax eggs, plant milk, and oil instead of butter. Add 1 tbsp apple cider vinegar to the milk to create a buttermilk effect – it helps the cake rise.
Gluten-free – use a 1:1 gluten-free flour blend that contains xanthan gum. Add an extra tablespoon of milk because GF flours absorb more liquid.
Spice cake – add 1 tsp cinnamon, ½ tsp nutmeg, and ¼ tsp cloves. Fold in ½ cup chopped pecans or walnuts. Perfect for fall.
9. Why this recipe works / The science

Steam is your secret weapon. When you cook a cake in a sealed pot, the trapped steam creates a moist, even heat that surrounds the pan. This mimics a convection oven but without the dry air, so the cake stays tender and doesn’t develop a hard crust.
Room temperature ingredients emulsify better. Cold butter and eggs can cause the batter to separate, leading to a dense, uneven crumb. Letting everything sit out for 30 minutes makes a huge difference.
The creaming method (beating butter and sugar until fluffy) incorporates tiny air bubbles. Those bubbles expand in the steam, giving the cake lift. Don’t skip that step – it’s the difference between a brick and a cloud.
Baking powder reacts twice: once when mixed with liquid, and again when heated. The steam heat activates the second reaction perfectly, so you get a good rise without an oven.
Low and slow is key. High heat will burn the bottom before the center sets. The gentle steam heat cooks the cake evenly from all sides.
Letting it rest after baking allows the steam to redistribute, so the crumb sets and doesn’t collapse when you slice it. Patience pays off.
10. Frequently Asked Questions (FAQ)
Can I use a microwave instead of a pressure cooker? Technically yes, but the texture will be different – microwaved cakes tend to be rubbery and uneven. Stick with a stovetop pot for the best results.
My cake stuck to the pan – what went wrong? You likely didn’t grease it enough, or the pan wasn’t lined. Next time, use parchment paper and a generous butter coating. Also, let it cool 10 minutes before trying to remove it.
How do I know when it’s done without an oven? Insert a toothpick or skewer into the center – it should come out clean or with a few moist crumbs. Also, the cake will pull away slightly from the sides of the pan.
11. Call to action

I’d love to hear how your no-oven cake turned out! Drop a comment below with your favorite variation or any questions you have. If you found this helpful, share it with a friend who’s oven-less but cake-hungry. And don’t forget to subscribe for more clever baking hacks delivered straight to your inbox.
So there you have it – a bakery-worthy cake that doesn’t need an oven, just a little patience and a pot. The next time someone says “you can’t bake without an oven,” you can smile smugly and hand them a slice of this fluffy masterpiece. It’s the kind of recipe that makes you feel like a kitchen wizard, even if you’re just a home cook with a dream.
Go ahead, give it a try. Your taste buds (and your electric bill) will thank you.
No-Oven Vanilla Sponge Cake
Ingredients
- 1 ½ cups 190g all-purpose flour
- 1 ½ tsp baking powder
- ¼ tsp salt
- ½ cup 113g unsalted butter, softened
- ¾ cup 150g granulated sugar
- 2 large eggs at room temperature
- 1 tsp vanilla extract
- ½ cup 120ml whole milk, at room temperature
Instructions
- Grease a 7-inch round cake pan with butter and dust with flour. Line the bottom with a parchment paper circle. Set aside.
- In a medium bowl, whisk together flour, baking powder, and salt. Set aside.
- In a large bowl, beat the softened butter and sugar with an electric mixer on medium speed until light and fluffy, about 3 minutes.
- Add the eggs one at a time, beating well after each addition. Stir in the vanilla extract.
- Reduce mixer speed to low. Add the flour mixture in three additions, alternating with the milk, starting and ending with flour. Mix just until combined – do not overmix.
- Pour the batter into the prepared pan and smooth the top with a spatula.
- Place a trivet or wire rack inside a large, deep pot (or pressure cooker without the weight). Pour about 1 inch of water into the pot (the water should not touch the cake pan).
- Place the cake pan on the trivet. Cover the pot with a tight-fitting lid. Turn the heat to low and let the cake steam-cook for 35-40 minutes, or until a toothpick inserted in the center comes out clean.
- Carefully remove the cake pan from the pot (use oven mitts – it’s hot!). Let it cool in the pan for 10 minutes, then turn out onto a wire rack to cool completely.
- Serve plain or with your favorite frosting. Enjoy!
Notes
2. Freeze wrapped slices for up to 2 months.
3. Substitutions: For a dairy-free version, use vegan butter and oat milk.
4. For egg-free, use 2 flax eggs (2 tbsp flaxseed meal + 6 tbsp water).
5. For gluten-free, use a 1:1 gluten-free flour blend.
6. Pot size: Use a pot large enough to hold the cake pan with at least 1 inch of space around the sides.
7. A 6-8 quart Dutch oven or pressure cooker works perfectly.
8. Don’t skip the trivet: It prevents the cake pan from sitting directly on the bottom of the pot, which would burn the cake.
9. Flavor variations: See the “Variations” section in the article for chocolate, lemon blueberry, vegan, gluten-free, and spice cake ideas.