

Simple Sugar Cookie Recipe That Beets Bakery Butter Cookies
You know those bakery butter cookies that cost a small fortune and disappear in two seconds? Yeah, this simple sugar cookie recipe beats them hands down. No fancy piping bags, no chilling for hours – just pure, buttery bliss that’ll make you wonder why you ever paid for the store-bought stuff.
I’m not saying I’m a cookie genius, but my family now refuses to eat anything from the bakery aisle. They’ve been spoiled, and honestly, I’m okay with that. 🙂
This recipe came about after a sad attempt at replicating those iconic butter cookies from the tin. I wanted that melt-in-your-mouth texture without the hassle. After a few burnt batches and one very dramatic flour explosion, I nailed it. And now I’m sharing it with you.
1. Allergens
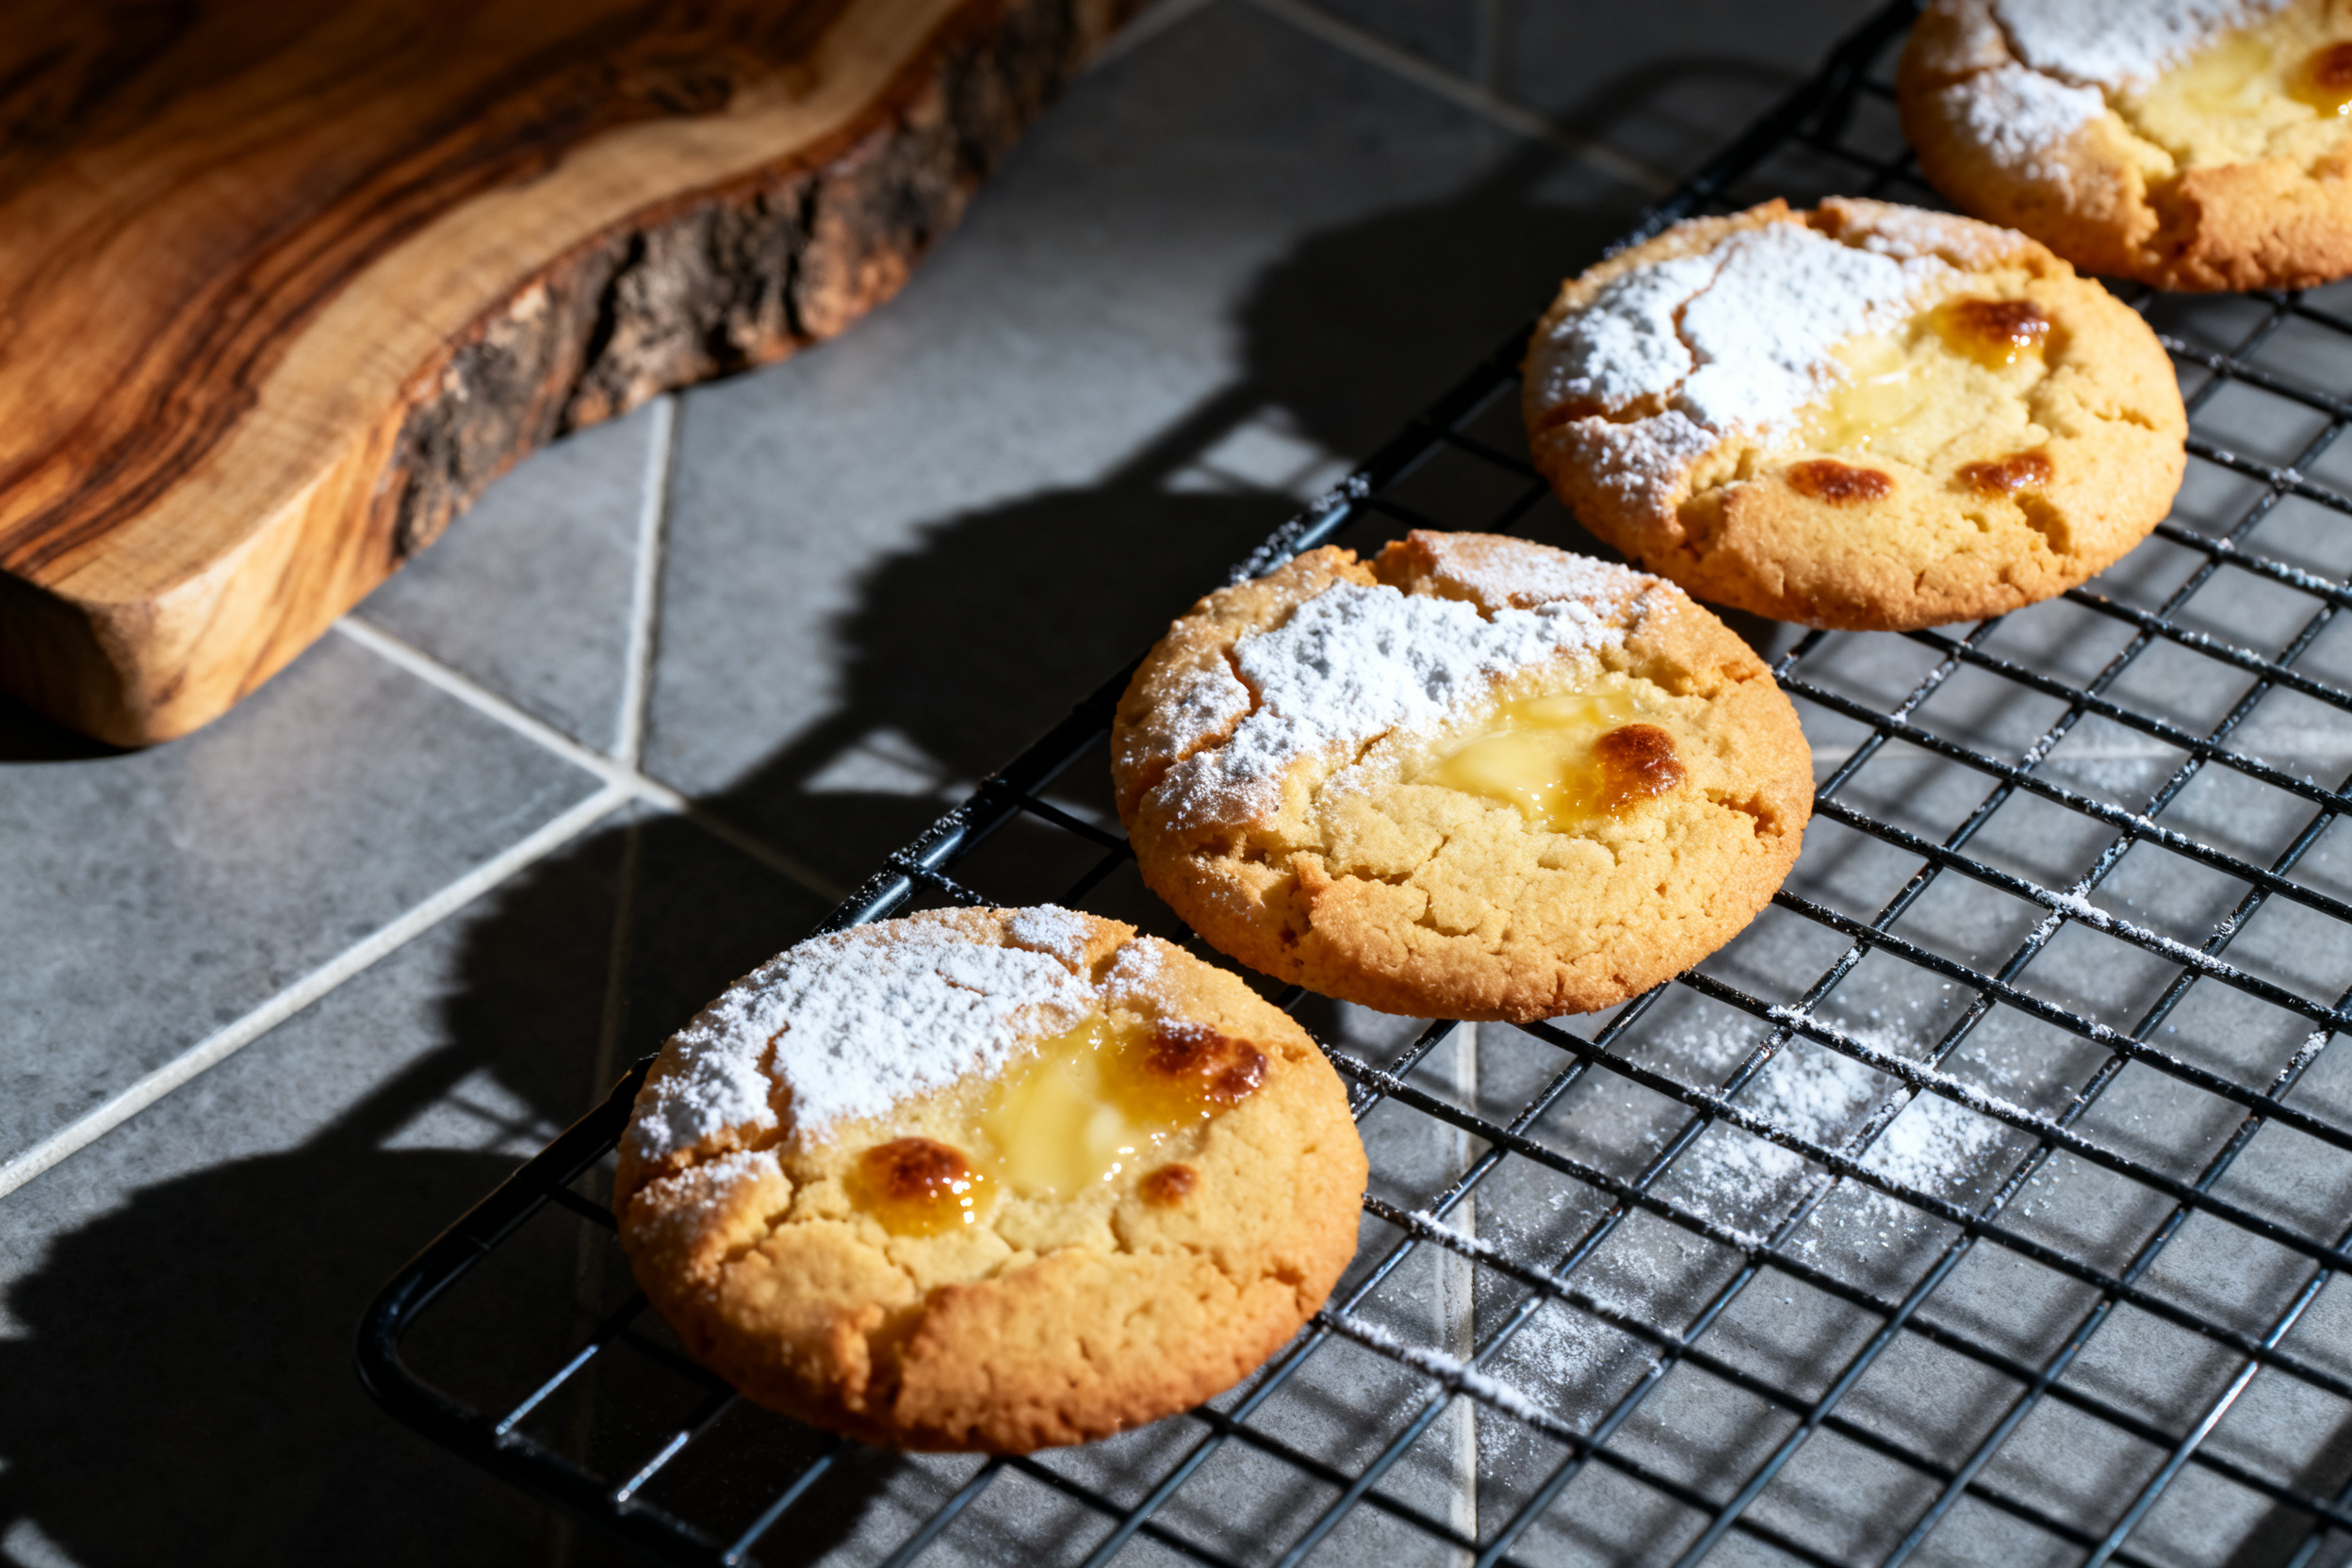
Let’s get the serious stuff out of the way. This recipe contains dairy (butter) and gluten (all-purpose flour). It also uses eggs. So if you’re dealing with allergies, please take note.
For a dairy-free version, you can swap the butter with a high-quality vegan butter stick. For gluten-free, use a 1:1 gluten-free flour blend that contains xanthan gum. I’ve tested both, and they work surprisingly well – just don’t expect the exact same texture.
2. Ingredient notes & substitutions

Butter is the star here. Use unsalted butter so you control the salt. Make sure it’s softened to room temperature – not melted, not rock hard. Trust me on this.
Granulated sugar gives that classic crunch. You can use organic cane sugar if you want, but plain white sugar works perfectly. No need to get fancy.
Eggs should also be at room temperature. Cold eggs can cause the dough to seize up. If you forgot to take them out, place them in a bowl of warm water for 5 minutes.
Vanilla extract is non-negotiable. Use pure vanilla, not imitation. It makes a huge difference in flavor. I also like to add a tiny splash of almond extract for that bakery vibe.
All-purpose flour is standard. Don’t overmix the dough once you add it, or you’ll get tough cookies. Stir just until no streaks remain.
3. Pro tips

Cream the butter and sugar for a full 3-4 minutes until light and fluffy. This incorporates air and gives you that tender crumb. Set a timer – I always do.
Chill the dough for at least 30 minutes before baking. This prevents spreading and gives you thick, chewy cookies. I know it’s tempting to skip, but don’t.
Use a cookie scoop for uniform sizes. This ensures even baking. Nobody wants one burnt cookie and one raw one.
Line your baking sheets with parchment paper or silicone mats. Greased sheets can cause the cookies to spread too much.
Rotate the pan halfway through baking. Ovens have hot spots, and this keeps the color even. Your cookies will thank you.
Cool on the pan for 5 minutes before transferring to a wire rack. They’re fragile when hot. Patience, grasshopper.
4. Storage & make-ahead

Store these cookies in an airtight container at room temperature for up to a week. They’ll stay soft and delicious. If you live in a humid climate, add a slice of bread to the container to absorb excess moisture.
To make ahead, you can freeze the dough for up to 3 months. Scoop into balls, freeze on a tray, then transfer to a zip-top bag. Bake directly from frozen, adding 2-3 minutes to the baking time.
You can also freeze baked cookies. Just make sure they’re completely cooled, then layer between parchment in a freezer-safe container. Thaw at room temperature for 30 minutes.
5. Serving suggestions

These cookies are perfect on their own, but if you want to go wild, serve them with a glass of cold milk or a scoop of vanilla ice cream. For a fancy dessert, sandwich two cookies with a dollop of whipped cream and fresh berries. Or just eat them straight from the cooling rack – no judgment here.
6. Use your leftovers

Leftover cookies? That’s a myth in my house, but if you somehow have extras, crush them up and use as a topping for ice cream sundaes or yogurt parfaits.
You can also turn them into cookie crumbs for a pie crust. Just pulse in a food processor with a little melted butter and press into a pan.
Another idea: dip them in melted chocolate and sprinkle with sea salt. Instant upgrade.
Or simply freeze them for later emergencies. You never know when a cookie craving will strike at 11 PM.
7. Common mistakes & how to fix them

Cookies spread too much? Your dough was too warm or you used too much butter. Next time, chill the dough longer and measure your butter accurately. If they already spread, just call them ‘lace cookies’ and move on.
Cookies are too dry? You overbaked them or added too much flour. Use a kitchen scale for accuracy. If they’re already baked, serve them with milk or tea – they’ll soften up.
8. Variations by diet or flavor profile

Vegan version: Use vegan butter and a flax egg (1 tbsp ground flax + 3 tbsp water). The texture will be slightly different but still delicious.
Gluten-free version: Swap the flour for a 1:1 gluten-free blend. Add 1/4 tsp xanthan gum if your blend doesn’t have it.
Citrus twist: Add 1 tbsp lemon or orange zest to the sugar before creaming. It brightens up the cookies beautifully.
Spiced sugar cookies: Mix in 1 tsp cinnamon, 1/2 tsp nutmeg, and a pinch of cloves. Perfect for the holidays.
Chocolate dipped: After baking and cooling, dip half of each cookie in melted dark chocolate and let set. Fancy and easy.
9. Why this recipe works

The high ratio of butter to sugar gives these cookies that rich, melt-in-your-mouth texture. Butter is fat, and fat coats the flour proteins, preventing too much gluten formation.
Creaming the butter and sugar creates air pockets that expand in the oven, giving you a light, tender crumb. This is the secret to bakery-style cookies.
Chilling the dough solidifies the fat, so the cookies spread less and stay thick. It also allows the flavors to meld together.
Using room temperature ingredients ensures everything emulsifies properly. Cold butter won’t cream well, and cold eggs can make the batter curdle.
Baking at 350°F is the sweet spot – hot enough to set the edges while keeping the centers soft. Too high and they burn; too low and they spread.
Finally, the simple ingredient list means you can whip these up anytime without a trip to the store. No obscure extracts or specialty flours.
10. Frequently Asked Questions (FAQ)

Can I use salted butter? Yes, but reduce the added salt to 1/4 teaspoon. Otherwise, they might be too salty.
Why are my cookies flat? Your butter was too soft or you didn’t chill the dough. Also check your baking soda – if it’s old, it won’t help the cookies rise.
Can I double the recipe? Absolutely. Just make sure your mixer can handle it. You may need to bake in batches.
11. Call to action

Now it’s your turn! Leave a comment below and tell me how these cookies turned out for you. Did they beat your favorite bakery cookies? Share a photo on social media and tag me – I’d love to see your creations. And if you haven’t already, subscribe to the blog for more simple, delicious recipes that’ll make you feel like a pro.
So there you have it – a simple sugar cookie recipe that genuinely beats those fancy bakery butter cookies. No gimmicks, no complicated techniques. Just good old-fashioned butter, sugar, and a little bit of love.
I still remember the first time I pulled a batch out of the oven and my husband asked if I’d bought them from the store. That’s the highest compliment, right? Now I can’t keep them in the house for more than a day.
Give this recipe a try, and I promise you’ll never look at a tin of butter cookies the same way again. Happy baking, friend.
Simple Sugar Cookies That Beat Bakery Butter Cookies
Ingredients
- 1 cup 226g unsalted butter, softened
- 1 cup 200g granulated sugar
- 1 large egg room temperature
- 1 teaspoon pure vanilla extract
- 1/4 teaspoon almond extract optional
- 2 1/4 cups 280g all-purpose flour
- 1/2 teaspoon baking powder
- 1/4 teaspoon salt
Instructions
- In a large bowl, cream together the softened butter and sugar with an electric mixer on medium speed until light and fluffy, about 3-4 minutes.
- Add the egg, vanilla extract, and almond extract (if using). Beat until well combined, scraping down the sides as needed.
- In a separate bowl, whisk together the flour, baking powder, and salt. Gradually add the dry ingredients to the wet mixture, mixing on low speed just until no streaks of flour remain. Do not overmix.
- Cover the dough with plastic wrap and refrigerate for at least 30 minutes (or up to 3 days).
- Preheat oven to 350°F (175°C). Line baking sheets with parchment paper or silicone mats.
- Using a cookie scoop or tablespoon, portion the dough into 1.5-tablespoon balls and place them 2 inches apart on the prepared baking sheets.
- Bake for 10-12 minutes, rotating the pan halfway through, until the edges are lightly golden and the centers are still soft.
- Let the cookies cool on the baking sheet for 5 minutes, then transfer to a wire rack to cool completely.
Notes
2. If you don’t have almond extract, you can use an extra 1/4 teaspoon of vanilla extract instead.
3. To make ahead: scoop the dough into balls and freeze on a tray.
4. Transfer to a zip-top bag and bake directly from frozen, adding 2-3 minutes to the baking time.
5. Store baked cookies in an airtight container at room temperature for up to 1 week, or freeze for up to 3 months.