
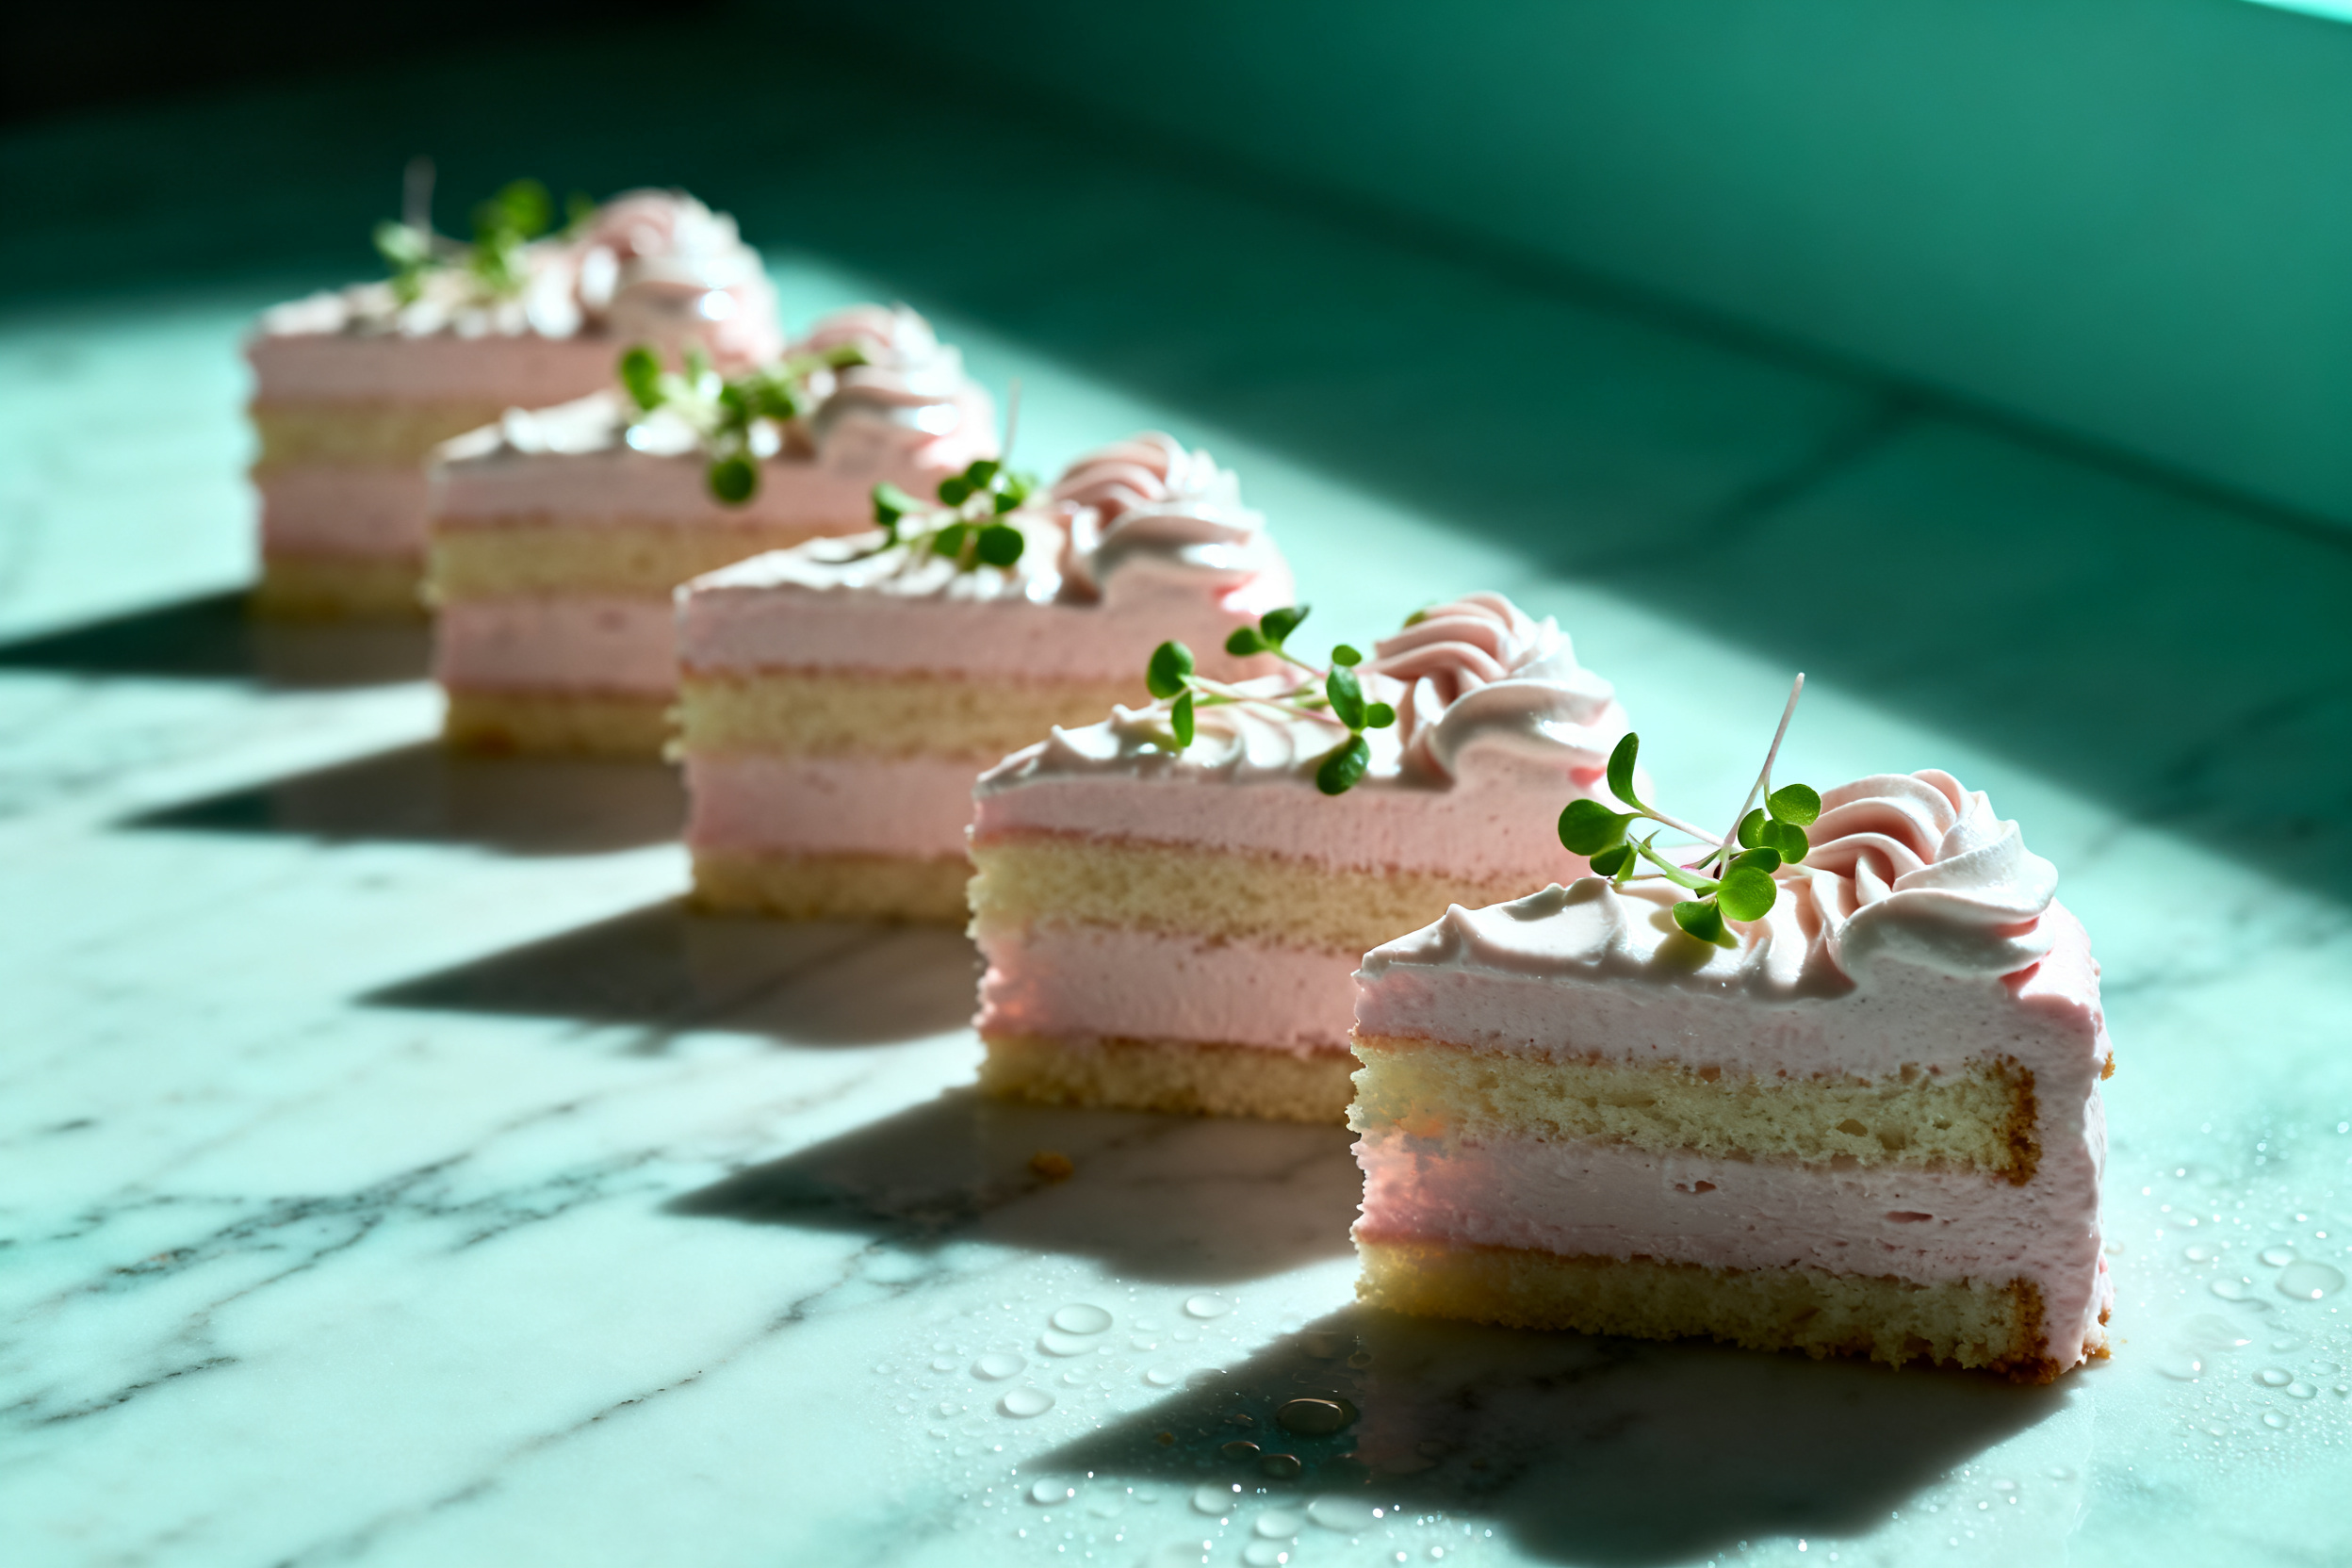

Let’s be honest—sometimes you want a dessert that looks like you spent hours in the kitchen, but you actually just raided the pantry and chilled it. That’s the magic of icebox cake recipes. They’re the lazy cook’s secret weapon, and I’m about to spill all the tea.
I remember the first time I made one for a summer BBQ. I showed up with this towering, creamy, cookie-studded log, and people literally gasped. I just smiled and said, “Oh, it’s nothing.” (It was nothing. It took 15 minutes.)
So grab your favorite cookies, a mixing bowl, and your chilliest fridge setting. We’re about to build layers of no-bake bliss that’ll make you look like a hero.
1. Allergens

Most classic icebox cake recipes rely on heavy cream, butter, and cookies, so they’re a minefield for dairy and gluten sensitivities. The standard version contains milk, cream, wheat, and often eggs (depending on the cookies).
For a dairy-free swap, use full-fat coconut cream whipped with a little powdered sugar. For gluten-free, grab a box of gluten-free chocolate wafer cookies or graham crackers. Always double-check your cookie labels for hidden soy or nuts.
If you’re serving a crowd with nut allergies, stick with cookies made in a nut-free facility. And remember—some pudding mixes contain milk, so read those tiny ingredient lists carefully.
2. Ingredient notes & substitutions

Heavy cream is your best friend here. It whips up into fluffy clouds that hold the layers together. Don’t try to substitute milk or half-and-half—you’ll end up with soup.
For cookies, you want something sturdy but soft enough to absorb moisture. Classic chocolate wafers, graham crackers, or even shortbread work beautifully. Avoid super crunchy cookies like biscotti—they won’t soften properly.
3. Pro tips

Chill your bowl and beaters before whipping cream. Cold cream whips faster and holds its shape longer. I pop mine in the freezer for 10 minutes while I gather ingredients.
Layer your cookies in a single, tight layer. Overlapping is fine, but gaps lead to wobbly slices. Press them gently so they nestle into the cream.
Let the cake rest in the fridge for at least 6 hours, but overnight is ideal. The cookies need time to soften into that cake-like texture. Patience pays off big time.
4. Storage & make-ahead

Icebox cakes are the ultimate make-ahead dessert. Assemble them the day before, cover tightly with plastic wrap, and let the fridge do the work. They actually get better after 24 hours.
For freezing, wrap the whole cake (in its pan) in a double layer of plastic, then foil. Freeze for up to 1 month. Thaw overnight in the fridge before serving. Slices freeze well too if you have leftovers.
5. Serving suggestions

Serve this beauty straight from the fridge—cold and firm. A dollop of extra whipped cream on top never hurts. Fresh berries or a drizzle of chocolate sauce add a pop of color and tartness.
Pair it with a strong coffee or an espresso martini. The bitterness cuts through the sweetness perfectly. For a kid-friendly version, serve with a glass of cold milk.
6. Use your leftovers

If you have leftover slices (unlikely, but possible), crumble them into a bowl and top with yogurt for a quick parfait. Or freeze the crumbles and blend them into a milkshake.
Stale cookies from the package? Crush them up, mix with melted butter, and press into a pie plate. Bake for 10 minutes at 350°F for an instant crust. Waste not, want not.
7. Common mistakes & how to fix them

Over-whipping your cream turns it into butter. Stop when it holds soft peaks—it should look like fluffy clouds, not yellow lumps. If you go too far, add a splash of cold cream and gently fold it in.
Not chilling long enough leads to a messy slice. If your cake slides apart, pop it back in the fridge for another 2 hours. Next time, use a springform pan for cleaner layers.
Using flavored cream (like peppermint) can clash with the cookies. Stick with plain cream and add vanilla extract. You can always layer in fruit or caramel sauce for flavor.
8. Variations by diet or flavor profile

Vegan version: use coconut cream, vegan butter, and dairy-free cookies. Add a pinch of sea salt to the cream to balance the sweetness. It’s surprisingly rich.
Chocolate peanut butter: spread a thin layer of peanut butter on each cookie before stacking. Use chocolate wafer cookies and add a drizzle of melted peanut butter on top.
Lemon berry: swap chocolate cookies for vanilla wafers. Fold lemon zest and a tablespoon of lemon juice into the whipped cream. Layer with fresh raspberries or blueberries.
9. Why this recipe works

The science is simple: cookies absorb moisture from the cream and soften into a cake-like texture. The fat in the cream stabilizes the layers, while the sugar helps the cookies retain a slight chew.
Chilling allows the starches in the cookies to gelatinize, creating a cohesive slice. No baking, no fuss—just chemistry doing the heavy lifting.
10. Frequently Asked Questions

Can I use Cool Whip instead of real cream? Yes, but the texture will be lighter and less rich. For best results, thaw it first and fold in a splash of vanilla.
How long does it last in the fridge? Up to 4 days, but the cookies will continue softening. After day 3, it’s more like a pudding than a cake. Still delicious.
Can I add fruit? Absolutely. Layer sliced strawberries or bananas between the cookie layers. Just pat them dry first to avoid extra moisture.
11. Call to action

I want to see your icebox cake creations! Drop a comment below and tell me which variation you tried. Did you go classic chocolate or get wild with lemon berry?
If you loved this post, share it with a friend who needs a no-bake win. And don’t forget to subscribe so you never miss a lazy dessert hack. Happy layering!
Conclusion

Icebox cake recipes are proof that you don’t need an oven, a stand mixer, or a culinary degree to impress. A few pantry staples, a little patience, and you’ve got a dessert that tastes like a labor of love.
So next time you’re craving something sweet but the thought of turning on the oven makes you sweat, remember this. Whip some cream, stack some cookies, and let the fridge do the rest. You’ve got this.
Now go make some layers of creamy, no-bake bliss. Your summer self will thank you.
Classic Chocolate Icebox Cake
Ingredients
- 2 cups 480 ml heavy whipping cream
- 3 tablespoons powdered sugar
- 1 teaspoon vanilla extract
- 1 package 9 ounces/255 g chocolate wafer cookies (about 36 cookies)
- Optional: 1/2 cup chocolate shavings or cocoa powder for dusting
Instructions
- In a large chilled bowl, beat the heavy cream with an electric mixer on medium speed until soft peaks form.
- Add the powdered sugar and vanilla extract. Continue beating until stiff peaks form—about 2 more minutes. Be careful not to over-whip.
- Spread a thin layer of whipped cream on the bottom of a 9×5-inch loaf pan or an 8-inch springform pan.
- Arrange a single layer of chocolate wafer cookies on top of the cream, breaking cookies as needed to fill gaps.
- Spread a generous layer of whipped cream over the cookies, about 1/2 inch thick.
- Repeat layering cookies and cream until you’ve used all the cookies. End with a layer of cream on top.
- Cover the pan tightly with plastic wrap and refrigerate for at least 6 hours, or overnight for best texture.
- Before serving, dust the top with cocoa powder or chocolate shavings if desired. Slice and serve cold.
Notes
2. Freezing: Wrap the assembled cake (in pan) in plastic wrap then foil. Freeze up to 1 month. Thaw overnight in fridge.
3. Substitutions: Use gluten-free chocolate wafer cookies for a GF version.
4. For dairy-free, use full-fat coconut cream (chilled and whipped) and dairy-free cookies.
5. Variations: Add a layer of sliced bananas or strawberries between the cookie layers.
6. Or fold 2 tablespoons of peanut butter into the cream for a chocolate-peanut butter twist.