

I still remember the sad, dry slice of “celebration cake” from the grocery store bakery. You know the one – stiff frosting, zero personality, and a price tag that makes you cry.
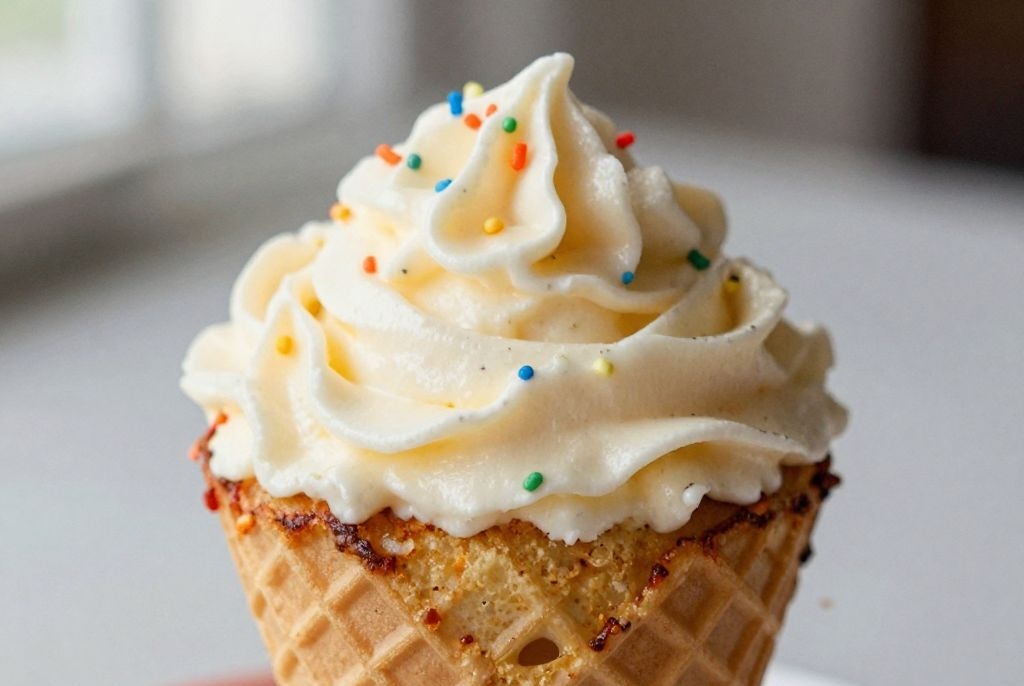
Now imagine a dessert that makes kids squeal and adults fight over the last bite. That’s this ice cream cone cake. It’s a tender vanilla cake baked right inside a waffle cone, topped with swoopy frosting and sprinkles.
No fancy bakery skills needed. Just a box of cones, a simple batter, and your favorite toppings. Ready to steal the show at your next birthday party or Tuesday night dinner? Let’s go.
1. Allergens
This recipe contains wheat, eggs, dairy (butter, milk), and soy (if using store-bought frosting or certain sprinkles). The cones themselves often contain wheat and soy lecithin.
For a dairy‑free version, use plant‑based milk, vegan butter, and dairy‑free frosting. Gluten‑free cones exist (look for them near the ice cream aisle), and a 1:1 gluten‑free flour blend works well in the batter.
2. Ingredient notes & substitutions
You need flat‑bottomed waffle cones, not sugar cones or cake cones. Waffle cones have that classic crunch and won’t tip over. Regular cake cones work too, but they’re smaller.
All‑purpose flour gives the best structure. Swap in whole wheat pastry flour for a nuttier taste. For the butter, salted or unsalted is fine – just cut the extra salt in the recipe if using salted.
Milk: whole milk adds richness, but any milk (oat, almond, 2%) works. Please don’t use skim unless you’re out of options. Your cake will thank you.
3. Pro tips
Don’t overfill the cones – leave about ½ inch from the rim. The batter needs room to puff up without spilling over. I learned this the hard way (hello, oven full of molten cake goo).
Bake the cones in a muffin tin to keep them upright. Each cone sits perfectly in a muffin cup. No fancy stands required.
Let them cool completely before frosting. Warm cone + frosting = sad, melted mess. Walk away for 20 minutes. Go fold laundry or scroll your phone.
4. Storage & make-ahead (fridge/freezer)
Unfrosted cone cakes stay good at room temperature for up to two days in an airtight container. The cones will soften a little, but that’s normal.
You can freeze the unfrosted cakes for up to three months. Place them on a baking sheet until solid, then wrap each in plastic wrap and toss in a freezer bag. Thaw at room temp for an hour before frosting.
Frosted cakes go in the fridge if they have dairy‑based frosting (cream cheese, buttercream). Bring them to room temp for 15 minutes before serving – cold frosting hides the flavor.
5. Serving suggestions (complete the meal)
These little showstoppers are dessert all on their own. But if you’re building a full party spread, pair them with fresh fruit salad (berries and mango) or a chocolate fondue dipper station.
For a kid’s birthday, serve the cone cakes alongside popcorn and rainbow sherbet punch. The contrast of crunchy cone, soft cake, and fizzy drink makes everyone happy.
Want to get fancy? Add a drizzle of hot fudge right before serving. Or a tiny scoop of real ice cream on top of the frosting (go ahead, live dangerously).
6. “Use your leftovers” (reduce waste)
Got extra baked cone cakes? Crumble them into cake pops – mix with a little frosting, roll into balls, and dip in chocolate. No waste, all delicious.
Leftover batter? Bake it in a standard cupcake liner. Then crumble that cake over ice cream sundaes for a homemade “crunch” topping.
And those last few sprinkles at the bottom of the jar? Dump them all over the frosting. More sprinkles = more joy, no exceptions.
7. Common mistakes & how to fix them
Cones tipping over in the oven? You forgot the muffin tin. Seriously, just put each cone inside a muffin cup. Problem solved.
Batter overflowed and made a mess. That means you overfilled. Next time fill only ⅔ of the cone. Scrape the spilled batter off the baking sheet – it still tastes good as a snack.
Cake stuck to the cone? You baked them upside down? No. Keep cones upright. And grease the inside of the cone lightly with nonstick spray before adding batter. The cake releases cleanly.
8. Variations by diet or flavor profile
Vegan version: Replace the egg with a flax egg (1 tbsp ground flax + 3 tbsp water, let sit 5 minutes). Use vegan butter, oat milk, and a plant‑based frosting. Many waffle cones are accidentally vegan – check the label.
Chocolate lover’s twist: Swap ¼ cup of the flour for unsweetened cocoa powder. Add ½ cup mini chocolate chips to the batter.
Birthday cake style: Use funfetti batter (add 2 tbsp rainbow sprinkles to the dry ingredients) and top with cream cheese frosting and even MORE sprinkles. Go wild.
Lemon lovers: Add 1 tbsp lemon zest and 1 tbsp fresh lemon juice to the wet ingredients. Top with a simple lemon glaze instead of frosting.
9. “Why this recipe works” / The science
The waffle cone acts as both a vessel and a texture bomb. As the cake bakes, the cone’s sugar content caramelizes slightly, giving you a sweet, toasty crunch that contrasts with the soft, moist crumb.
Baking at 350°F (175°C) is the sweet spot – hot enough to set the cake before the cone gets soggy, but not so hot that the cone burns. The batter’s fat from butter and milk coats the flour proteins, keeping the cake tender.
Because the cone is porous, it absorbs a tiny bit of moisture from the batter. That’s actually good – it prevents the cone from becoming rock‑hard. By the time you bite in, the cone is crisp but not jaw‑breaking.
10. Frequently Asked Questions (FAQ)
Can I use sugar cones instead? Yes, but they’re smaller and pointier. You’ll need to trim the pointy end to stand them upright, and the baking time drops to about 12 minutes. Watch them closely.
How do I transport these to a party? Put each finished cone cake in a paper cupcake liner, then nestle them in a tall container or a muffin tin covered with foil. Drive carefully (no sudden stops).
My cones are browning too fast – tent a piece of foil over the top for the last 5 minutes of baking. Easy fix.
Can I make mini versions? Use those tiny “kiddie cones” and bake for 10–12 minutes. Reduce the batter to 1 tablespoon per cone. Adorable and perfect for toddlers.
11. Call to action (comment, share, subscribe)
I want to see your ice cream cone cake creations! Snap a photo and drop it in the comments below. Tell me what toppings you used – sprinkles, nuts, or a giant pile of whipped cream?
If you loved this recipe, share it with a friend who always brings boring bakery cakes to parties. And don’t forget to subscribe to my email list – I send out one ridiculous, awesome dessert idea every Friday.
Conclusion
So here’s the truth: that bakery cake looks pretty on Instagram, but it never makes anyone smile the way these cone cakes do. They’re personal, playful, and surprisingly easy to whip up.
Next time you need a dessert that gets remembered, skip the bakery line and grab a box of waffle cones. Your friends will ask for the recipe. Your kids will request them for every birthday. And you? You’ll be the hero holding a cone full of cake.
Now go preheat that oven. The show is waiting.
Recipe Name: Ice Cream Cone Cake (Baked Vanilla Cone Cakes)
Servings: 6 cones
Estimated Cost Per Serving: $1.20
Prep Time: 20 minutes
Cook Time: 18 minutes
Total Time: 38 minutes
Course: Dessert
Cuisine: American
Calories Per Serving: 350
Diet: Vegetarian
Difficulty: Easy
Ingredients
- 6 flat‑bottomed waffle cones (standard size)
- 1 ¼ cups (150g) all‑purpse flour
- 1 tsp baking powder
- ¼ tsp baking soda
- ¼ tsp salt
- ½ cup (113g) unsalted butter, softened
- ¾ cup (150g) granulated sugar
- 1 large egg, room temperature
- 1 tsp vanilla extract
- ½ cup (120ml) whole milk, room temperature
- 1 ½ cups (180g) powdered sugar (for frosting)
- ¼ cup (60g) unsalted butter, softened (for frosting)
- 2 tbsp milk (for frosting)
- ½ tsp vanilla extract (for frosting)
- Rainbow sprinkles, maraschino cherries, or chocolate jimmies for topping
Instructions
- Preheat your oven to 350°F (175°C). Place each waffle cone into a standard muffin tin cup (the cone should sit snugly with the rim resting on the top edge of the cup).
- In a medium bowl, whisk together the flour, baking powder, baking soda, and salt. Set aside.
- In a large bowl, beat the ½ cup softened butter and granulated sugar with an electric mixer on medium speed until light and fluffy, about 2 minutes.
- Add the egg and 1 tsp vanilla extract. Beat until combined, scraping down the sides once.
- Add half the dry ingredients to the butter mixture and mix on low just until combined. Pour in the ½ cup milk and mix again. Finally, add the remaining dry ingredients and mix until no streaks of flour remain. Do not overmix.
- Spoon the batter into the prepared cones, filling each about ⅔ full (roughly 3 tablespoons per cone). Leave ½ inch of space from the rim.
- Bake for 16–18 minutes, until a toothpick inserted into the cake center comes out clean or with a few moist crumbs. If the cone tops darken too fast, loosely cover with foil for the last 5 minutes.
- Let the cone cakes cool completely in the muffin tin – at least 20 minutes. Transfer to a wire rack.
- While they cool, make the frosting: Beat the ¼ cup softened butter until creamy. Add powdered sugar, 2 tbsp milk, and ½ tsp vanilla. Beat on low until combined, then high for 1 minute until fluffy. Add more milk (1 tsp at a time) if too thick.
- Spoon or pipe frosting onto each cooled cone cake. Top immediately with sprinkles and a cherry. Serve within a few hours for the crispiest cones.