
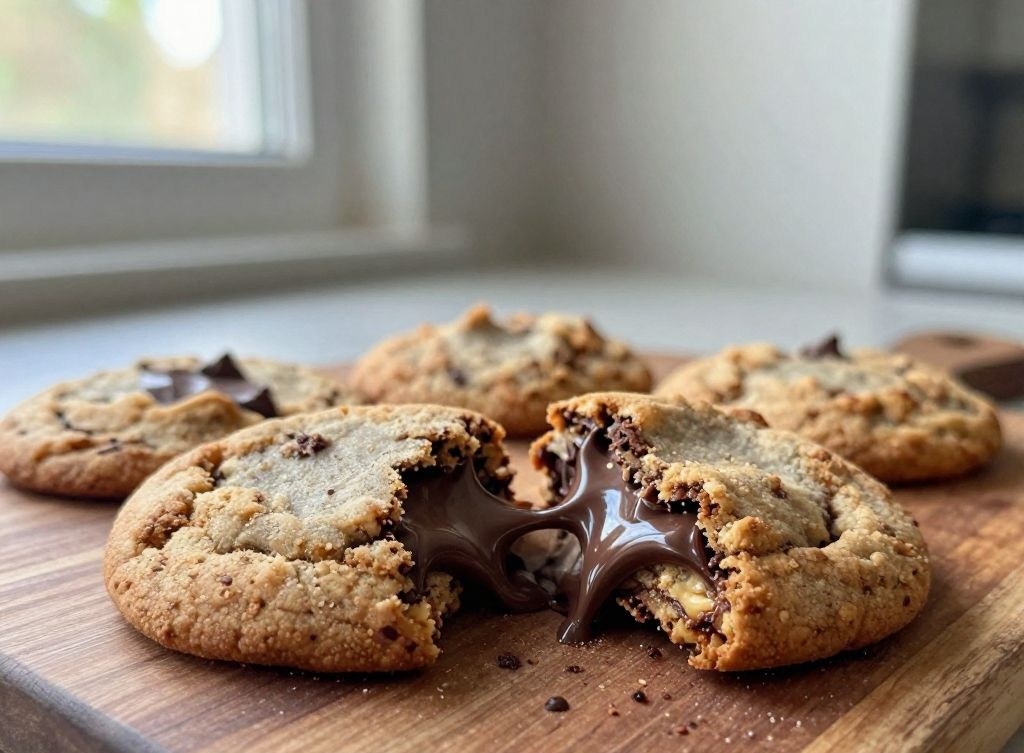

You know that moment when a cookie is so soft and full of melted chocolate it practically dissolves on your tongue? That’s exactly what these cookies deliver. Every single bite gives you a warm, gooey pocket of chocolate surrounded by a pillowy, cloud-like dough.
I’ve chased this texture for years, making dozens of batches that turned out too flat or too cakey. Then I figured out the secret: a little cornstarch, melted butter, and a heavy hand with the chocolate chunks. Now you get to skip all my failed experiments.
These cookies don’t need fancy equipment or hard-to-find ingredients. Just a bowl, a spoon, and the self-control to not eat all the dough before it hits the oven. (Good luck with that last part.)
1. Allergens
These cookies contain wheat, dairy, eggs, and soy (from most commercial chocolate). If you have severe nut allergies, check your chocolate brand because many are processed on shared equipment.
For dairy-free needs, use plant-based butter and vegan chocolate chips. Avoid margarine with whey or casein – read labels carefully.
Egg allergies: try a flax egg (1 tbsp ground flax + 3 tbsp water per egg). The texture will be slightly denser but still gooey.
2. Ingredient notes & substitutions
Unsalted butter is non-negotiable here because salted butter throws off the moisture balance. Brown sugar gives that chewy, almost caramel-like depth. If you only have white sugar, add 1 tablespoon of molasses per cup to mimic brown sugar.
3. Pro tips
Chill the dough for at least 30 minutes – this prevents spreading and intensifies the chocolate flavor. I know you’re impatient, but trust me on this one.
Use chopped chocolate bars instead of chips. Chips have stabilizers that stop them from fully melting, while chopped bars create those gorgeous, jagged puddles of goo. Go for 60-70% cacao for the best balance of sweet and rich.
Scoop the dough with a cookie scoop to keep every cookie the same size. Uneven scoops mean some burn while others stay underdone.
Pull the cookies from the oven when the edges are set but the centers still look slightly underbaked. They’ll continue cooking on the hot pan.
4. Storage & make-ahead
Store baked cookies in an airtight container at room temperature for up to 5 days. Tuck a slice of bread into the container to keep them soft – the cookies absorb moisture from the bread instead of drying out.
Freeze the raw dough balls on a parchment-lined tray until solid, then transfer to a zip-top bag. Bake straight from frozen, adding 2-3 minutes to the cook time. No need to thaw.
5. Serving suggestions
These cookies beg for a tall glass of cold milk or a scoop of vanilla bean ice cream sandwiched between two of them. For breakfast (no judgment here), crumble one over Greek yogurt with a drizzle of honey.
Hosting a dinner party? Serve them warm with a dollop of lightly whipped cream and a sprinkle of flaky sea salt. The salt cuts through the sweetness and makes the chocolate sing.
6. “Use your leftovers” (reduce waste)
Got stale cookies? Crush them into a pie crust for a no-bake chocolate cream pie. Just mix with melted butter and press into a pan.
Leftover chocolate chunks that fell off the cutting board? Melt them down and drizzle over popcorn or pretzels for a quick snack. And that half-bag of brown sugar that’s turned into a rock? Microwave it with a damp paper towel for 20 seconds – good as new.
7. Common mistakes & how to fix them
Overmixing the dough develops too much gluten, giving you tough, hockey-puck cookies. Mix just until the flour disappears, then stop. Seriously, walk away from the bowl.
Baking on a hot, dark pan makes the bottoms burn before the centers finish. Use a light-colored, heavy-duty baking sheet and let it cool completely between batches. If your cookies spread into sad flat discs, your butter was too warm – chill the dough longer.
Forgetting to reserve chocolate chunks for the tops means less gooeyness on display. Press a few extra chunks into each dough ball right before baking. It looks prettier and guarantees chocolate in every bite.
8. Variations by diet or flavor profile
Gluten-free: Swap the all-purpose flour for a 1:1 gluten-free baking blend that contains xanthan gum. Cup4Cup or King Arthur work beautifully here. No other changes needed.
Vegan: Use plant-based butter, a flax egg, and vegan chocolate. Expect a slightly more fragile cookie, but the gooey factor stays intact.
Flavor twists: Add 1 teaspoon of espresso powder to deepen the chocolate. Or swap half the chocolate chunks for white chocolate and dried cherries. Feeling spicy? A pinch of cinnamon and cayenne gives a Mexican hot chocolate vibe.
9. “Why this recipe works” / The science
Melted butter instead of creamed butter means less air in the dough, which yields a denser, fudgier texture – exactly what you want for a “cloud” that feels substantial but soft. The cornstarch tenderizes the gluten, so each bite almost crumbles on your tongue.
Brown sugar brings acidity and moisture from the molasses, keeping the cookies chewy for days. And chopping your own chocolate creates irregular shards that melt into separate pools rather than one uniform chunk. That’s why you get gooey chocolate in every single bite, not just a few.
10. Frequently Asked Questions (FAQ)
Can I use chocolate chips instead of chopped chocolate? Yes, but they won’t create those dramatic, swoopy puddles. If you only have chips, add an extra ¼ cup for similar gooey coverage.
Why are my cookies cakey? You probably used baking powder instead of baking soda, or you added too much flour. Spoon and level your flour – never scoop directly with the measuring cup.
How do I make them extra “cloud-like”? Replace 2 tablespoons of flour with 2 tablespoons of cornstarch. And don’t skip the chilling step – cold dough rises up instead of spreading out.
Can I double this recipe? Absolutely. The dough freezes beautifully, so make a double batch and bake half later. Just don’t double the salt – use 1.5x salt for a double batch.
11. Call to action
I’d love to see your cookie clouds! Drop a comment below and tell me what chocolate you used or how long your dough actually lasted before baking (no shame in the raw dough game).
Snap a photo and tag me on Instagram so I can share my favorites. And if you haven’t already, hit that subscribe button for new recipes every Tuesday – no spam, just carbs and chocolate.
These cookies have saved me from countless bad days, and I hope they do the same for you. Now go preheat that oven.
Conclusion
So there you have it – the only chocolate cookie recipe you’ll ever need. They’re soft, they’re gooey, and they genuinely feel like biting into a warm chocolate cloud. No fancy bakery trip required.
Make a batch this weekend. Burn one as a “tester” (that’s my excuse, and I’m sticking to it). Then hide the rest from your family, or don’t – sharing is caring, I guess.
When you make them, come back and tell me how it went. Did you add espresso? Did you eat three before they cooled? I need all the details. Happy baking!
Recipe Name: Clouds of Warm, Gooey Chocolate Cookies
Servings: 12 cookies
Estimated Cost Per Serving: $0.75
Prep Time: 15 minutes
Cook Time: 10 minutes
Total Time: 25 minutes (plus 30 minutes chilling)
Course: Dessert
Cuisine: American
Calories Per Serving: 280
Diet: Vegetarian
Difficulty: Easy
Ingredients
- 1/2 cup (113g) unsalted butter, melted and slightly cooled
- 1 cup (200g) packed brown sugar
- 1/4 cup (50g) granulated sugar
- 1 large egg, room temperature
- 2 teaspoons vanilla extract
- 1 1/2 cups (190g) all-purpose flour
- 2 tablespoons cornstarch
- 1/2 teaspoon baking soda
- 1/2 teaspoon salt
- 6 oz (170g) semi-sweet chocolate bar, chopped into irregular chunks (reserve 1/4 for topping)
- Flaky sea salt for sprinkling (optional)
Instructions
Step 1: Preheat your oven to 350°F (175°C). Line two baking sheets with parchment paper.
Step 2: In a large bowl, whisk together the melted butter, brown sugar, and granulated sugar until smooth and glossy. Add the egg and vanilla, whisking vigorously until the mixture lightens slightly (about 30 seconds).
Step 3: In a separate bowl, whisk the flour, cornstarch, baking soda, and salt. Pour the dry ingredients into the wet ingredients and stir with a rubber spatula just until no streaks of flour remain. Do not overmix.
Step 4: Fold in most of the chopped chocolate chunks, saving about a quarter for the tops. The dough will be soft and a little sticky – that’s perfect.
Step 5: Cover the bowl and refrigerate for at least 30 minutes (or up to 3 days). This step is crucial for cloud-like texture.
Step 6: Scoop 2-tablespoon-sized balls of dough onto the prepared sheets, spacing them 2 inches apart. Press a few reserved chocolate chunks into the top of each dough ball.
Step 7: Bake for 9-11 minutes, rotating the pan halfway through. The edges should be set and lightly golden, but the centers will look soft and slightly underdone.
Step 8: Let the cookies cool on the baking sheet for 5 minutes – this is when the magic gooeyness sets. Then transfer to a wire rack. Sprinkle with flaky sea salt while still warm if desired.
Step 9: Serve warm or at room temperature. Store leftovers as directed above. Try not to eat the whole batch in one sitting (I believe in you).